This post is mostly intended for Unity developers that also use Blender but even if you don’t use Unity, these Blender settings may be useful to you.
If you work with Unity and Blender at the same time, it can be very confusing and frustrating if, for instance, the camera controls and the UI layout are not the same in both of the applications. To make matters worse, Blender also uses a different cartesian coordinate system where the Z-axis is pointing up instead of forward, which makes exporting models to Unity a bit of a pain, if you’re not used to it.
To make Blender behave a bit more like Unity there are a couple or steps that you can take. On this page you’ll find my personal Blender preferences that I use for navigation in the 3D view as well as my Blender to Unity export settings.
On this page you’ll find step by step instructions to do this yourself or if you don’t want to go trough the trouble you can download my personal blender startup scene and exported keymap files here:
Changing the Blender Keymap
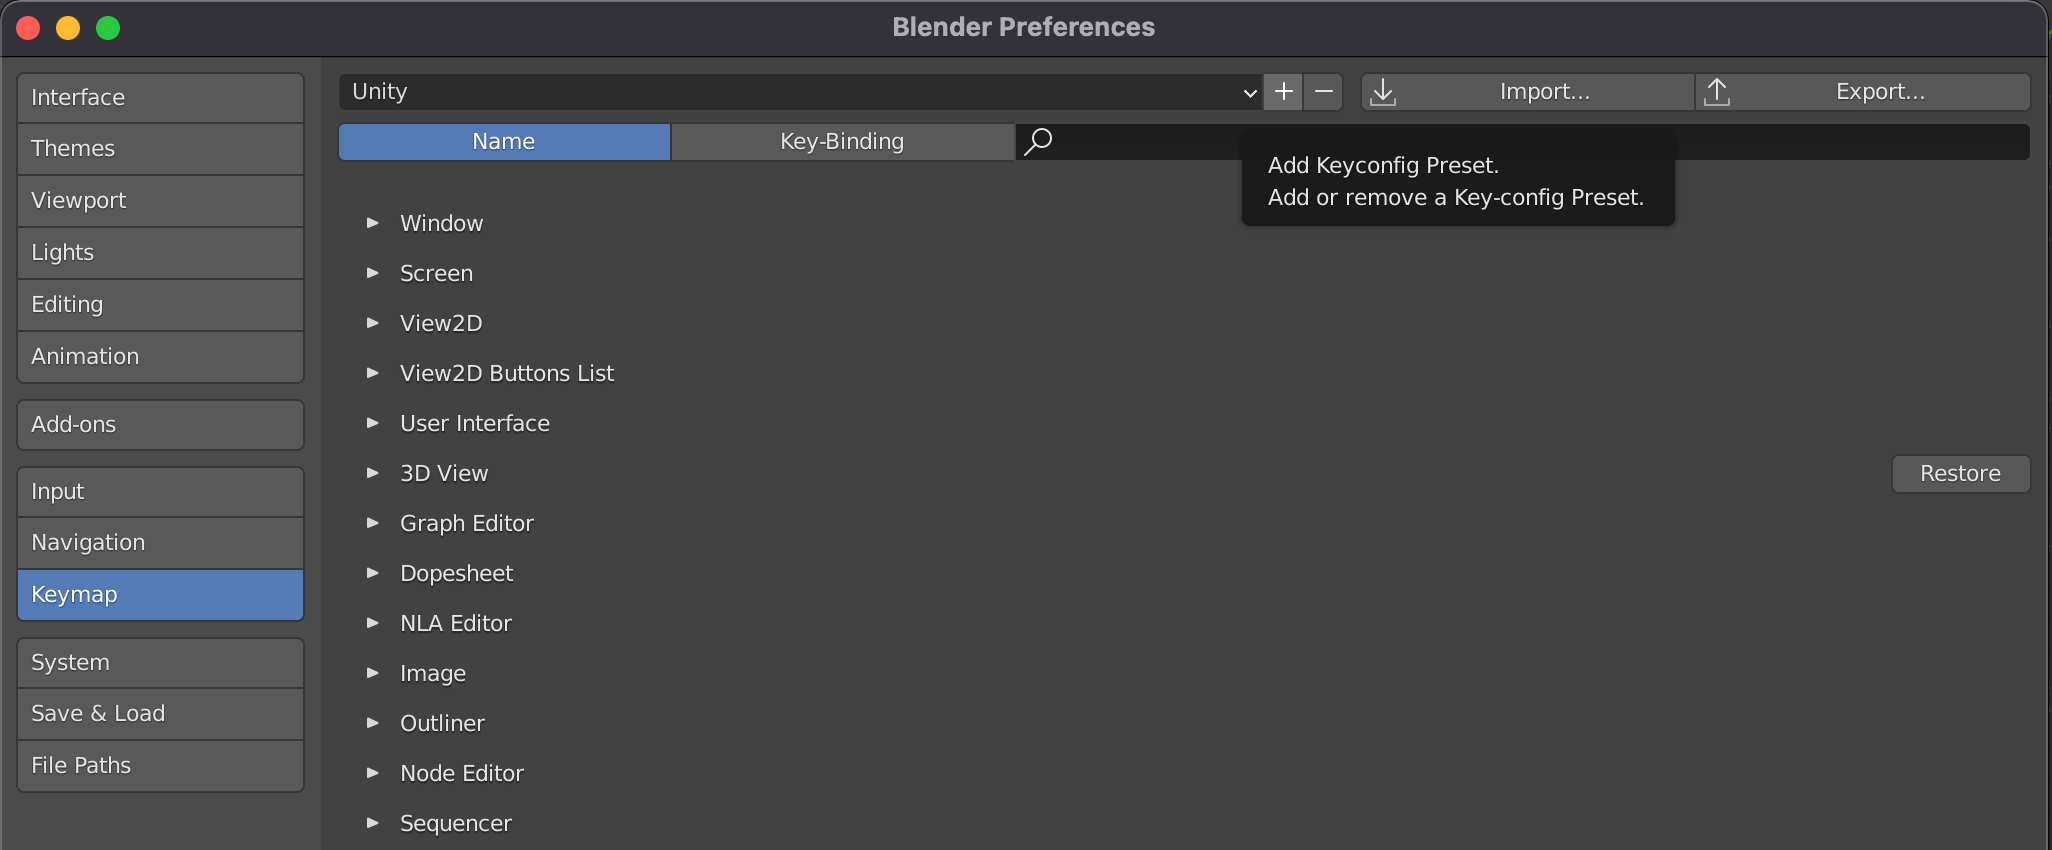
Adding a New Key-Config Preset
Go to Edit > Preferences > Keymap and make a new Key-config Preset first by clicking on the plus button. Give it a name like ‘Unity’ for instance:
Mapping ‘Set 3D Cursor’ to a Different Key
One of my favourite things to use in Blender is the red white lifebuoy looking 3D Cursor but since the default key for moving around the 3D Cursor is mapped by Blender to Right Mouse we will have to map the command to something else, if we want to use Right Mouse for camera rotation…
Go to Edit > Preferences > Keymap
Open the 3D View settings on the left side of the window and then the 3D View (Global) settings.
Change the key for ‘Set 3D Cursor’ by clicking on the box on the right side of the window and then press the key combination that you want to use instead. I have chosen Shift + Cmd + Right Mouse, which doesn’t seem to get in the way of other mapped keys:

(Read the this little nested section if you want to learn a couple of really useful things that you can do with Blender’s special 3D Cursor… Or not if you just want to get on with it…But I suggest that you do because I know what is good for you… ;p )
While the Set 3D Cursor command is useful because you can place the 3D Cursor at semi-precise locations, I generally prefer to set it to exact locations like selected objects, vertices, faces or edges by using the Shift+S Pie-menu and then selecting the Cursor to Selected command:

After placing the 3D Cursor at a position the same Shift + S menu can be used again to place some other selected object to the 3D Cursor’s location with the Selection to Cursor command:

Another handy dandy Pie-menu that you can use in conjunction with the Shift + S menu is called the Origin Pie-menu.
The Origin Pie-menu can be called by pressing Ctrl+Alt+X but you will have to enable the Interface: 3D Viewport Pie Menus Add-on, that you can find in the list of Community Add-ons, first:

With the Origin Pie-menu you can quickly set the origin of an object to the 3D Cursor’s location:

Right Mouse Camera Rotation
Go to Edit > Preferences > Keymap.
For 3D View (Global)
Open the 3D View settings on the left side of the window and then the 3D View (Global) settings.
Change the key for ‘Rotate View‘ by clicking on the box on the right side of the window and then click with your Right Mouse button to assign it to Rotate View:
3D View > 3D View (Global) > Rotate View = Right Mouse

Change the camera panning to use the Middle Mouse button (the scroll wheel click):
3D View > 3D View (Global) > Pan View = Middle Mouse
For Object mode
Because the context sensitive menu for Object mode uses the Right Mouse button by default it will have to be remapped to something else now… I’ve chosen to use Cmd + Right Mouse for it:
3D View > Object Mode > Object Mode (Global) > Object Context Menu = Cmd + Right Mouse
For Edit Mode
First Remap the context sensitive menu from Right Mouse to Cmd plus Right Mouse on MacOS or Ctrl plus Right Mouse on Windows:
3D View > Mesh > Mesh (Global) > Call Menu = Cmd + Right Mouse
Remapping the context sensitive menu for editing mode will apparently also free up the Right Mouse for Camera Rotation in Edit Mode so no further changes required for Edit Mode.
For Sculpt Mode
Remap the context sensitive menu from Sculpt Mode to Cmd + Right Mouse:
3D View > Sculpt > Sculpt (Global) > Sculpt Context Menu = Cmd + Right Mouse
For Vertex Paint Mode
Remap the context sensitive menu from Vertex Paint Mode to use Cmd + Right Mouse:
3D View > Vertex Paint > Vertex Paint (Global) > Vertex Paint Context Menu = Cmd + Right Mouse
For Weight Paint Mode
Remap the context sensitive menu from Weight Paint Mode to use Cmd + Right Mouse:
3D View > Weight Paint > Weight Paint (Global) > Weights Context Menu = Cmd + Right Mouse
Because Weight Paint Mode uses Cmd + Right Mouse for sampling weight by Default it will have to be either remapped to something else so I’ve chosen to use Shift plus Cmd plus Right Mouse for it:
3D View > Weight Paint > Weight Paint (Global) > Weight Paint Sample Weight = Shift + Cmd + Right Mouse
For Texture Paint Mode
Remap the context sensitive menu from Image Paint (Texture Paint) Mode to use Cmd + Right Mouse:
3D View > Image Paint > Image Paint (Global) > Texture Paint Context Menu = Cmd + Right Mouse
Middle Mouse Camera Panning
Go to Edit > Preferences.. and select Keymap.
Open the 3D View settings on the right side of the window and then the 3D View (Global) settings.
Change the key for ‘Pan View‘ by clicking on the box next to the X on the right side of the window and then click with your Middle Mouse button (Scroll wheel button):
3D View > 3D View (Global) > Pan View = Middle Mouse

Saving Preferences
When you’re done changing your input settings make sure that you press on ‘Save Preferences‘ all the way at the bottom left side of the Preferences window:

Changing Blender’s UI layout
The way that you change the layout of the windows in Blender is a bit different from how it works in most applications, so it takes a little bit of getting used to but when you understand how it works it turns out to be a really elegant and efficient way of organising your windows.
Flipping Header Bars to the Top
The default position for menu bars or window ‘headers‘ is at the bottom of the window. If you want the menu bar of any window to be at the top of the window you can right-click somewhere in an empty area of the header and select ‘Flip to top‘ from the pop-up window:

Changing What an Area Shows
In Blender every window or ‘Area‘ can be every other area as well. So if you want to change what an already existing area shows, you can simply press on the ‘Current editor type for this area‘ button that each area has in the top-left corner of the ‘Header‘ (the area’s menu bar):

Creating New Window Areas
In Blender you can create a new area by simply click-dragging away from the corner of an area or you can right-click in the corner to choose manually if you want to split that area horizontally or vertically:


Closing Window Areas
If you want to close a window area in Blender you have to drag another area ‘on top of’ the area that you want to close. So for instance if you want to close an area on the right side of another area, then click-drag away from the corner of that area until you see a large arrow appear and then release the mouse button:

In the exception that you want to close one window that is underneath two other windows then you have to close one of the two windows that are above it first. This is a little bit cumbersome but there isn’t really a way around it:

Making Blender’s Layout the Same as Unity
First Press on the plus button all the way to the right of the already existing Blender Workspaces named ‘Layout’, ‘Modeling’, ‘Sculpting’ etc, that you can see in the top main header bar, to create your own Unity style Workspace. You can select Duplicate Current from the pop-up menu to make a copy of the Workspace that you currently have active:

If you want to have the same kind of layout in Blender as the Default layout in Unity you can put an Outliner area on the left side of the 3D View area (This would be like the Hierarchy view in Unity), a Properties area on the right side of the 3D View area (This would be like the Inspector view in Unity) and a File Browser area on the bottom (This would be like the Project view in Unity):

If you want the Outliner area from Blender to show objects with a parent/child relation based hierarchy structure, just like Unity’s Hierarchy view then switch the Outliners’s Display Mode to Scenes instead of View Layer which shows the Blender file’s Collections:

When you’re done making changes to the layout and you want to keep those settings for the next time that you start Blender, then make sure to save your startup file by going to File > Defaults > Save Startup File :

Blender to Unity FBX export settings
To export your models to Unity as .fbx files without having to mess with rotations and scale, first go to File > Export > FBX.
In the export window under ‘Export FBX‘ in the bottom left screen change the settings as in the example image below and when you’re done click on the plus button next to ‘Operator Presets‘ to create a new preset for the settings and give it the name Unity for instance:

When you’re done, press ‘Export FBX’ in the top-right corner.
Because you now change the rotation when you export you’re file you don’t have to rotate it differently in blender, so you can just have your models in blender use the z-axis as up!
Remember that you have to select your ‘Unity’ export preset that you just created every time that you want to export a model because Blender doesn’t save this!
Also remember that Unity can work with .blender files right out of the box and that Unity will automatically convert .blender models to FBX models on import in the background, so you don’t have to export your models as .fbx files if they are only ever going to be opened with Blender!…

BUY ME A COFFEE
Donate $5 to buy me a coffee so I have the fuel I need to keep producing great tutorials!
$5.00

