I Love good basics! ❤️
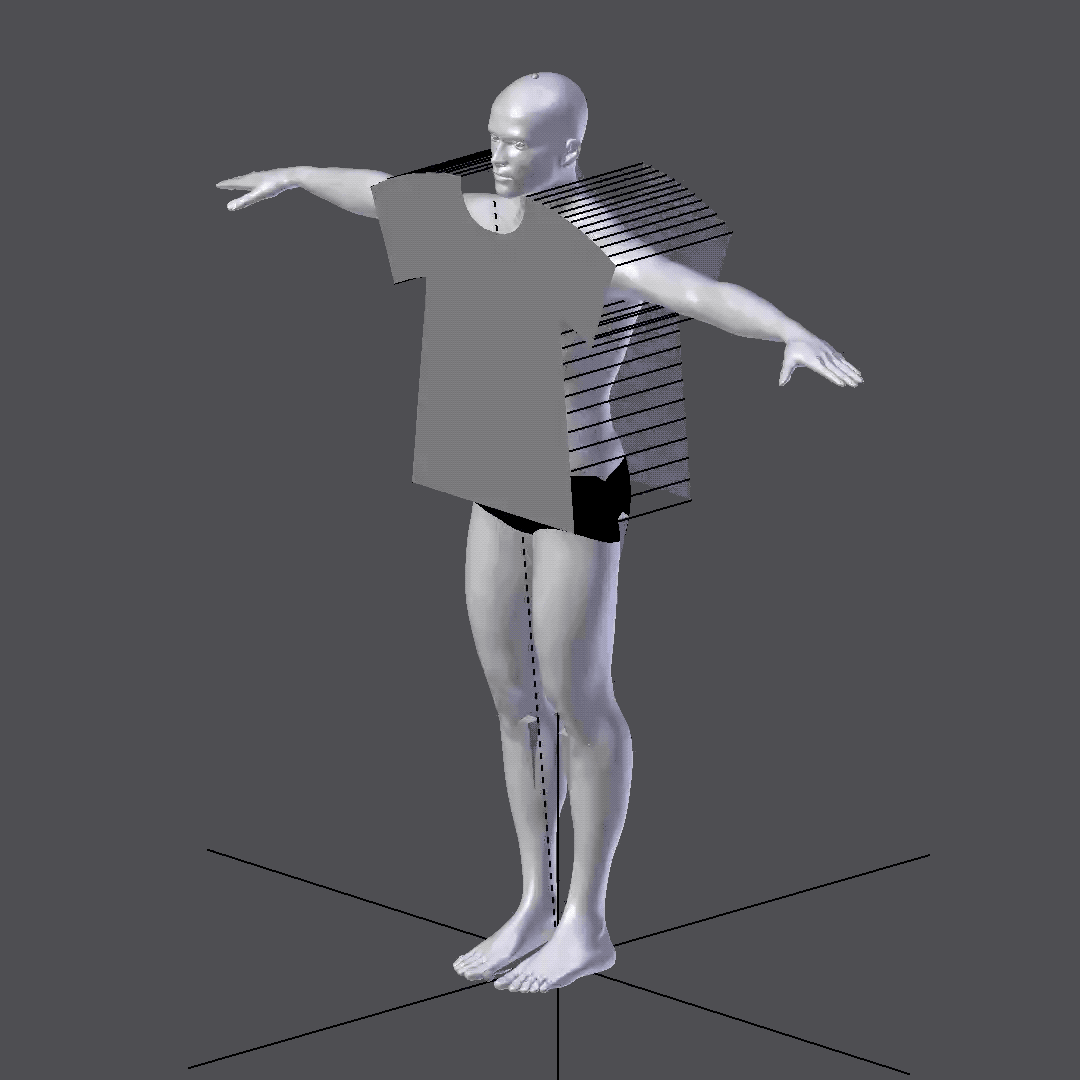
Just wanted to upload this GIF.. I’m working on some character clothing for a third person shooter project/experiment, using Blender’s cloth simulation. Just thought it looked really cool. Also to make sure I remember the steps later on I wrote a small tutorial about it..
Quick Tutorial
- Create a T-shirt mesh that looks a little something like this. Make sure to remove the ‘faces only’ for the sew areas.
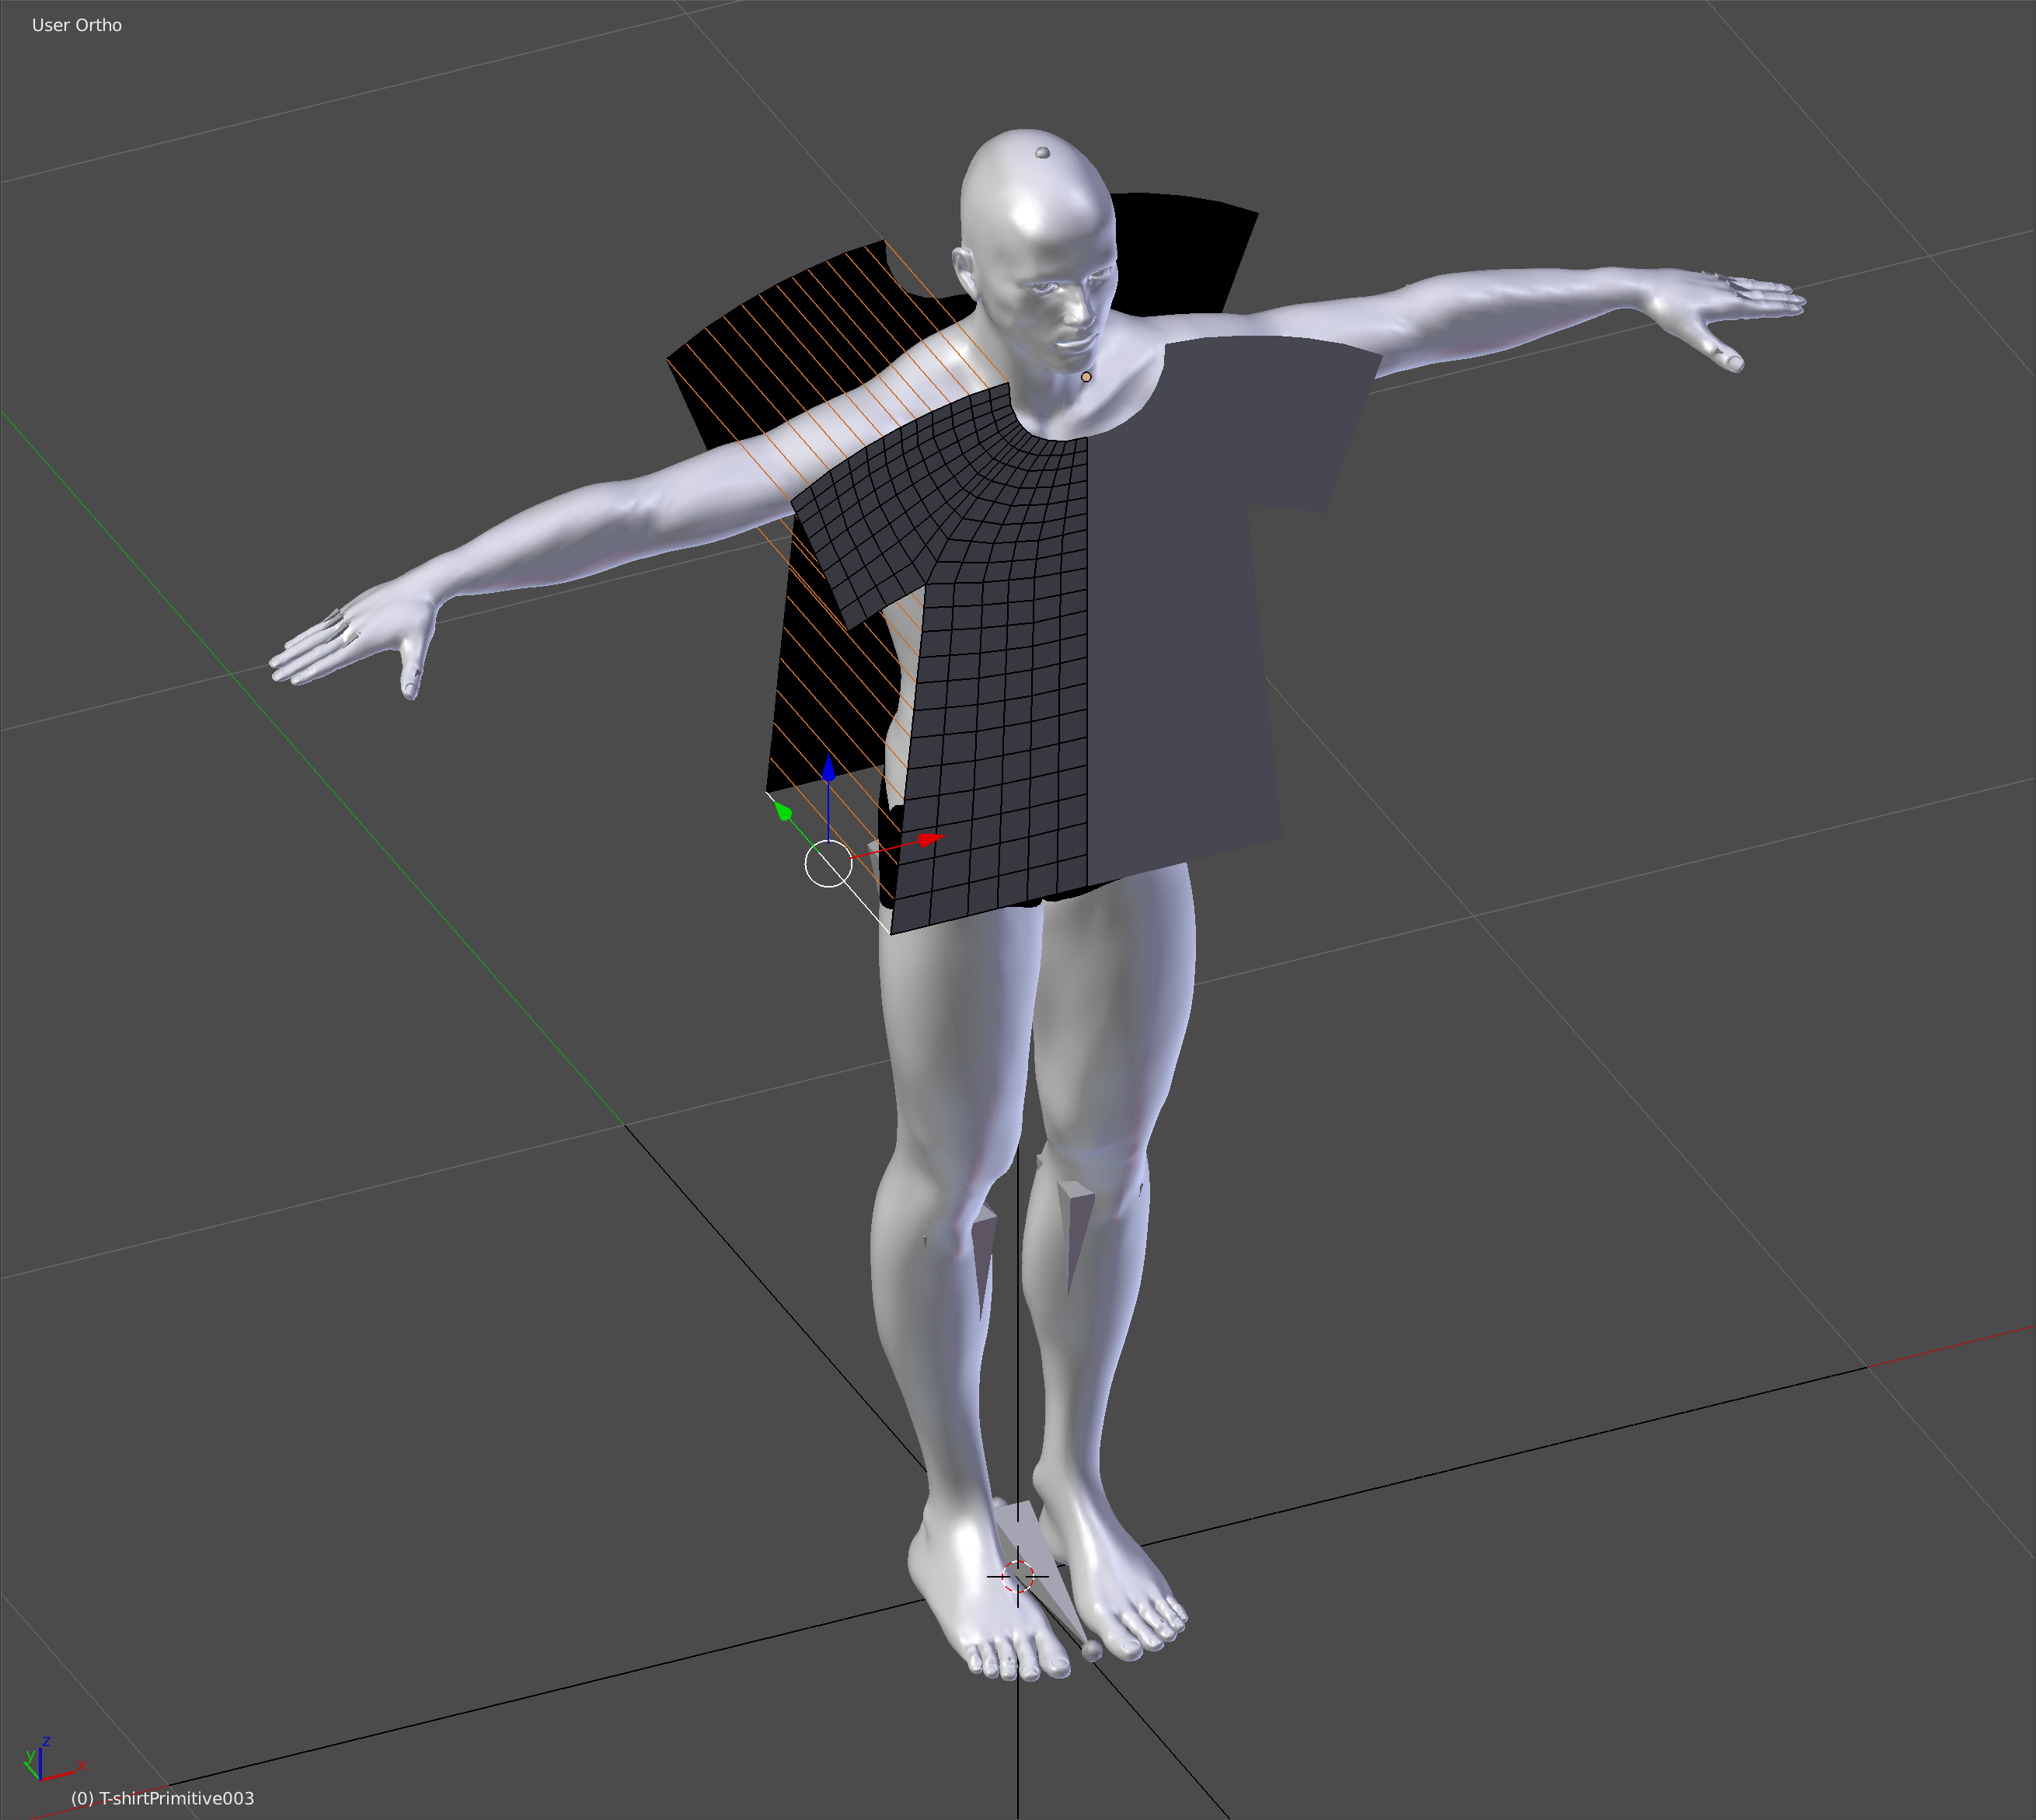
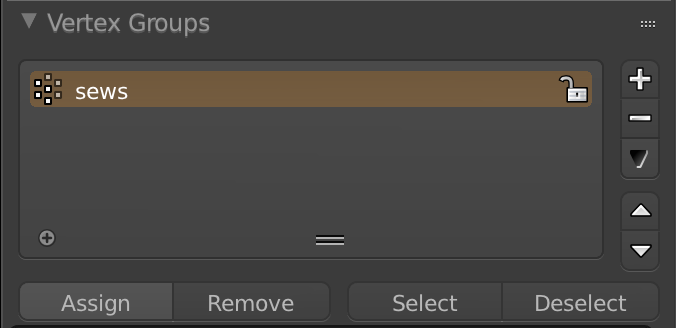
2. Select the sew edges and assign them to a new vertex group so they can be marked as sews for the cloth simulation:
3. Select the T-shirt mesh and Enable physics for Cloth in the Physics tab of the Properties window.
Enable self collision and set the cloth preset to Rubber.
What really helps the simulation a lot is if you set the Speed Multiplier to something very slow like 0.2 or 0.1 this way the faces of the cloth collide a lot better with the target.
Also enable Cloth Sewing Springs and set the sewing force to something like 25.
Assign the vertex group created in step two to the Cloth Sewing Springs ‘Shrinking’ group:

4. Select your characters model and ‘Enable physics for’ Collision so the T-shirt can collide with the characters body. Set the Soft Body and Cloth outer and inner face thickness to 0.001. Set the Soft Body Damping Factor to 1:

5. Press on play in the Timeline window to start the cloth physics simulation. (Only works in Object Mode) Pause the playback when the cloth has reached the desired state:
6. Select the T-shirt and Apply the Cloth Modifier in the Modifiers tab of the Properties window (This modifier was added when you enabled cloth physics):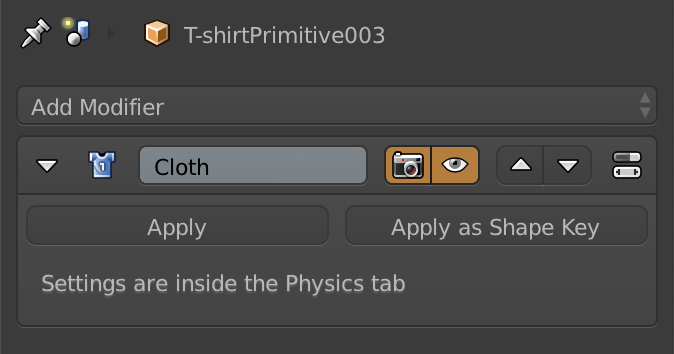
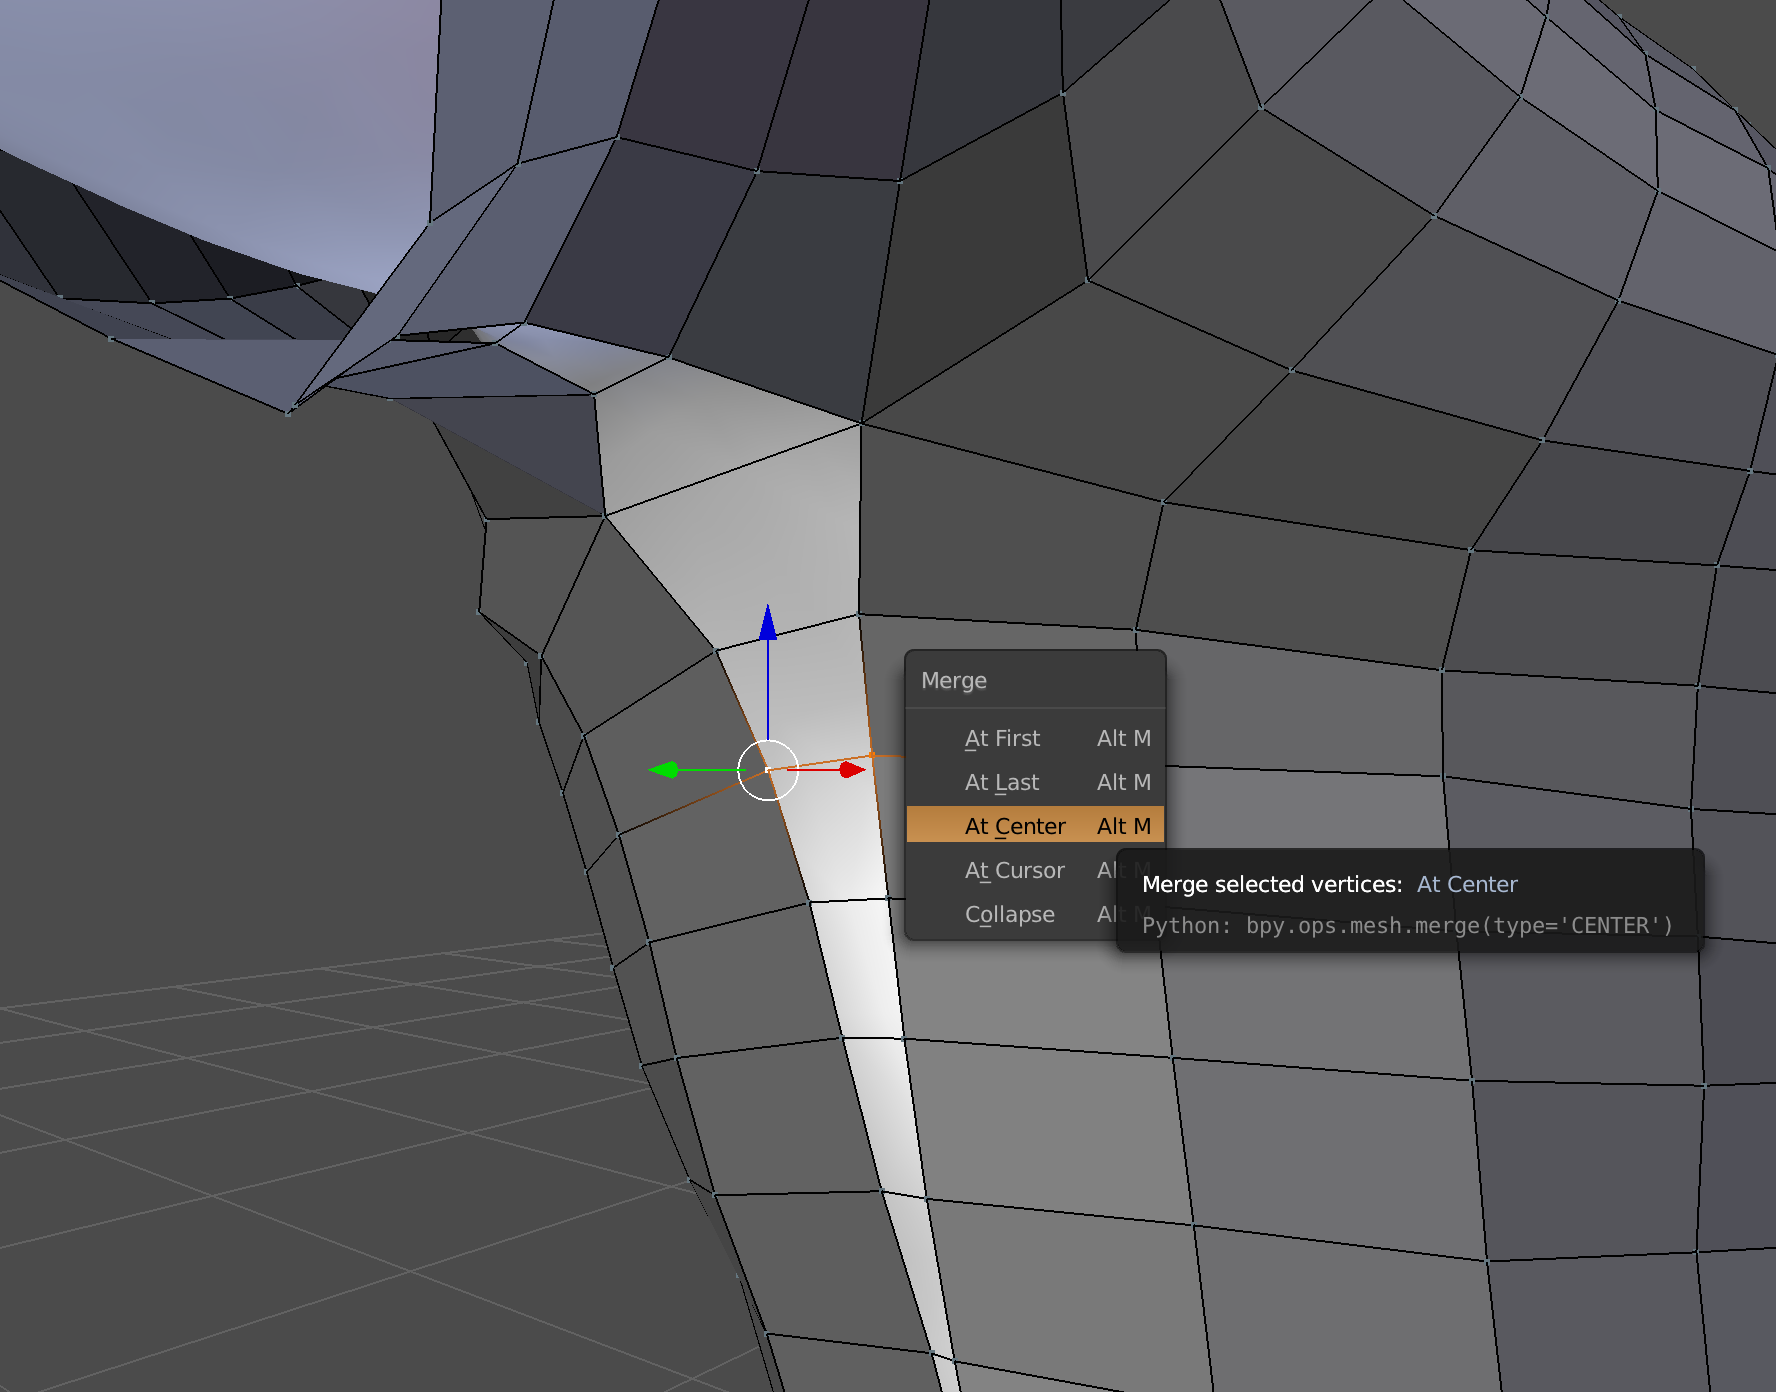
7. Get rid of the open faces from the sews by filling the faces or merging the vertices from the sews together. For instance by selecting two vertices and using Ctrl+V > Merge > At Center:
8. In Object Mode select the T-shirt and turn on smooth shading in the Tools tab:

