Drawing Bump Maps in Realtime in Blender 2.80
(Quick Tutorial)
Introduction
This tutorial briefly explains how you can get started with drawing bump- and/or normal maps using Texture paint mode in Blender 2.80, and see the results in real-time in the 3D viewport of Blender.
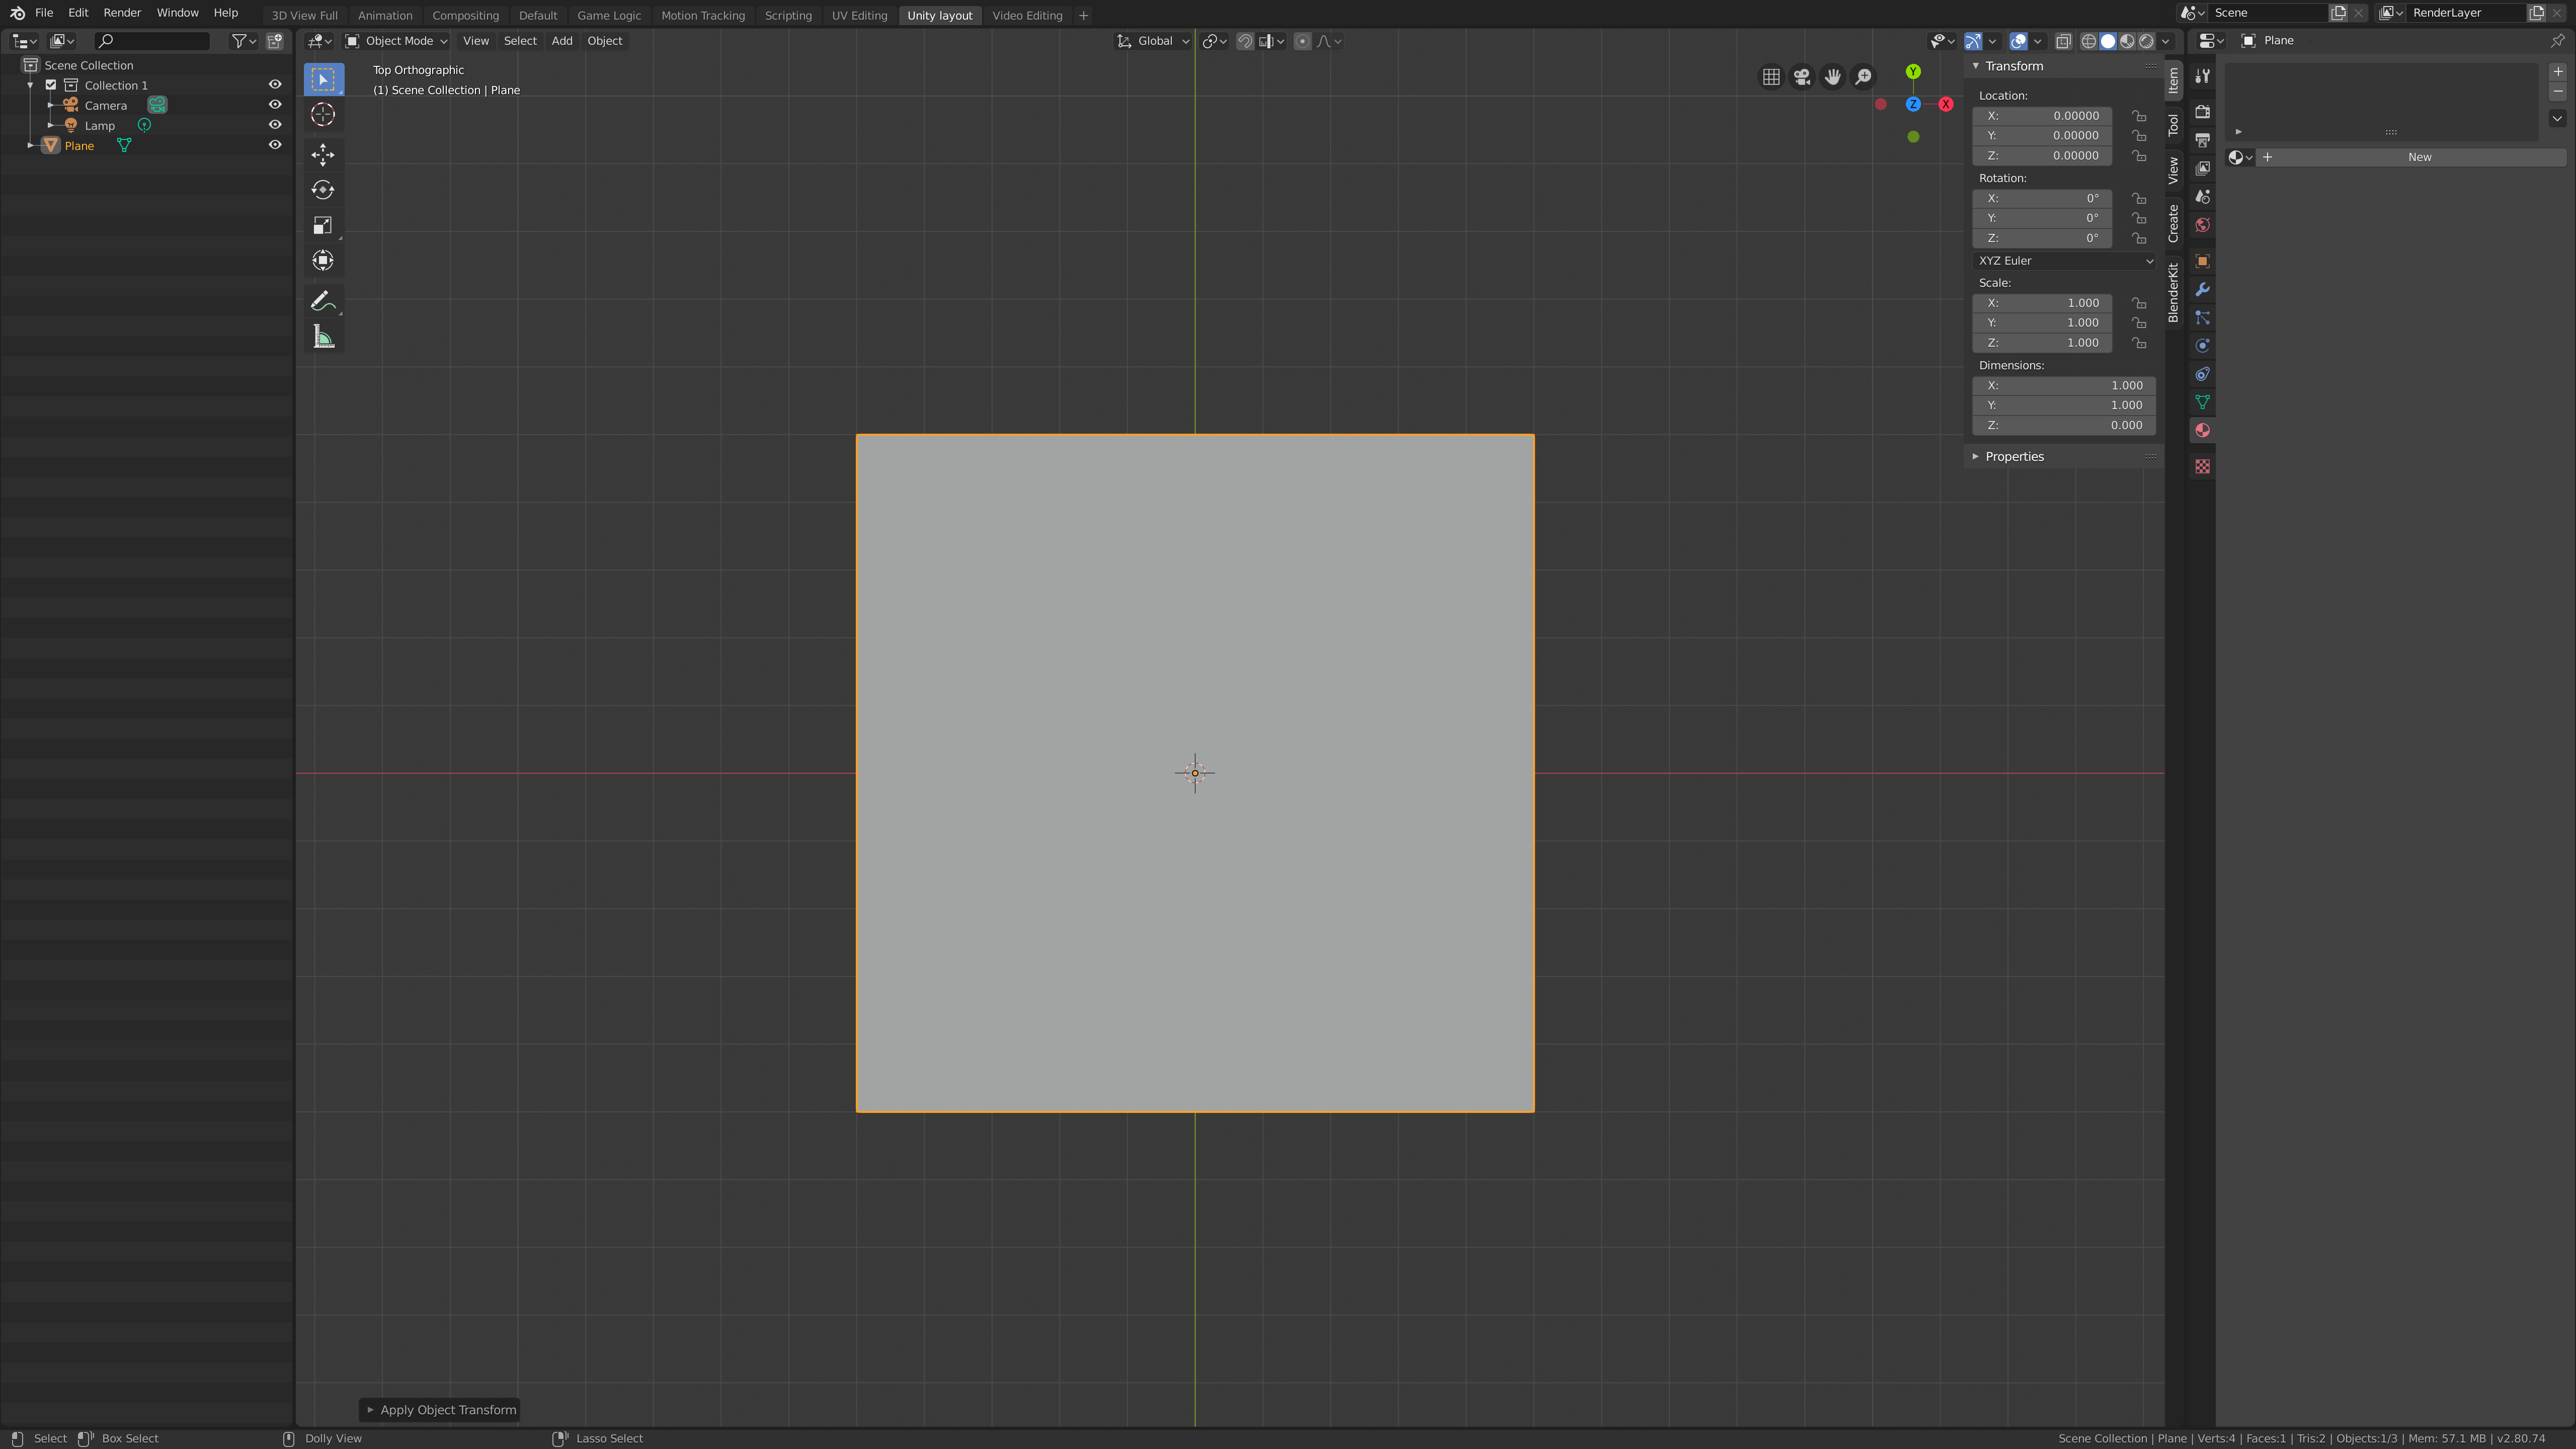
1. Create a new scene, delete the default cube (X, D) and add a new plane (Shift + A).

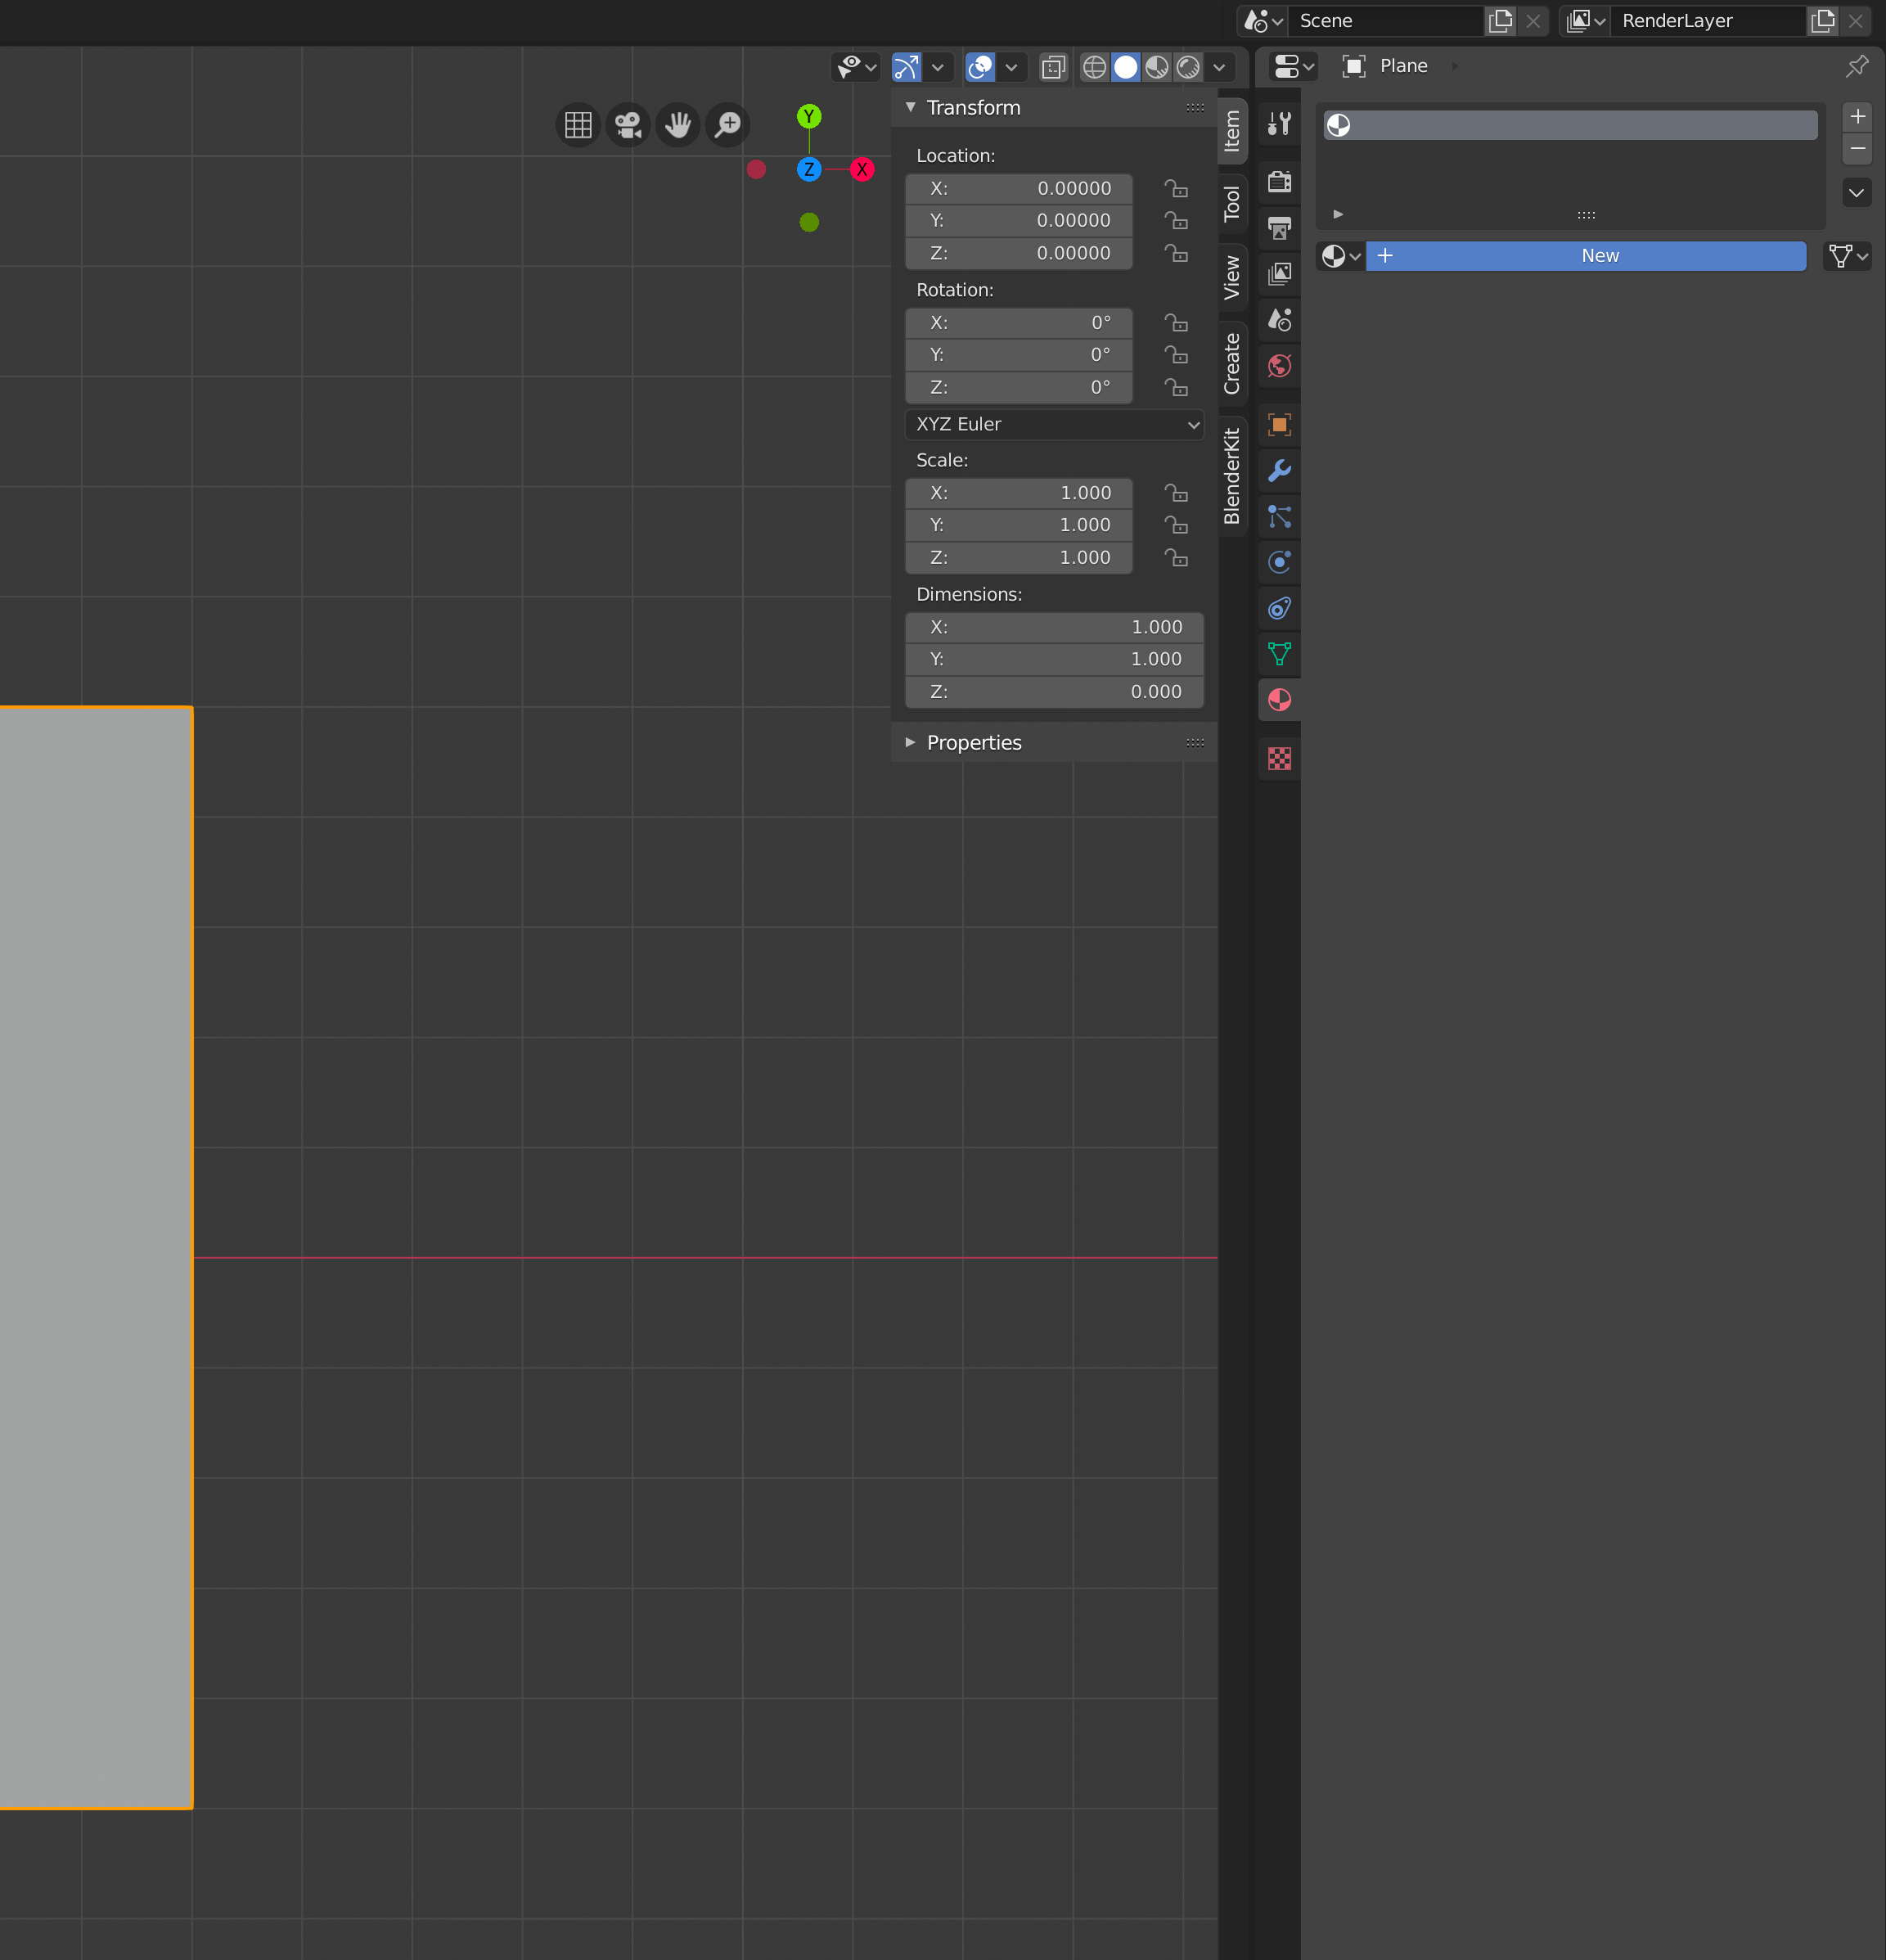
2. Press ‘7′ on the num-pad to view the plane from the top and to go into orthographic mode:
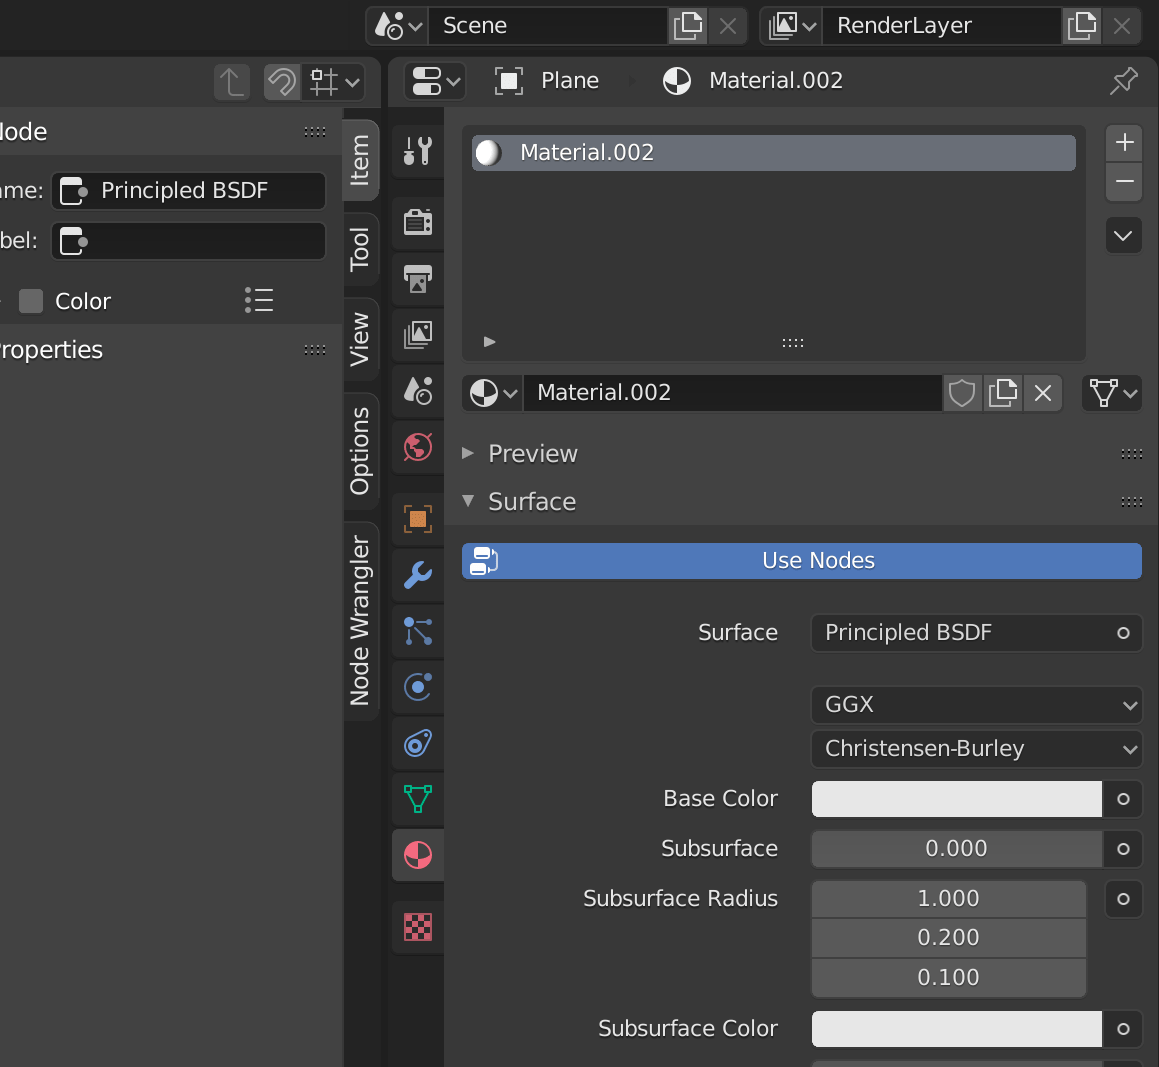
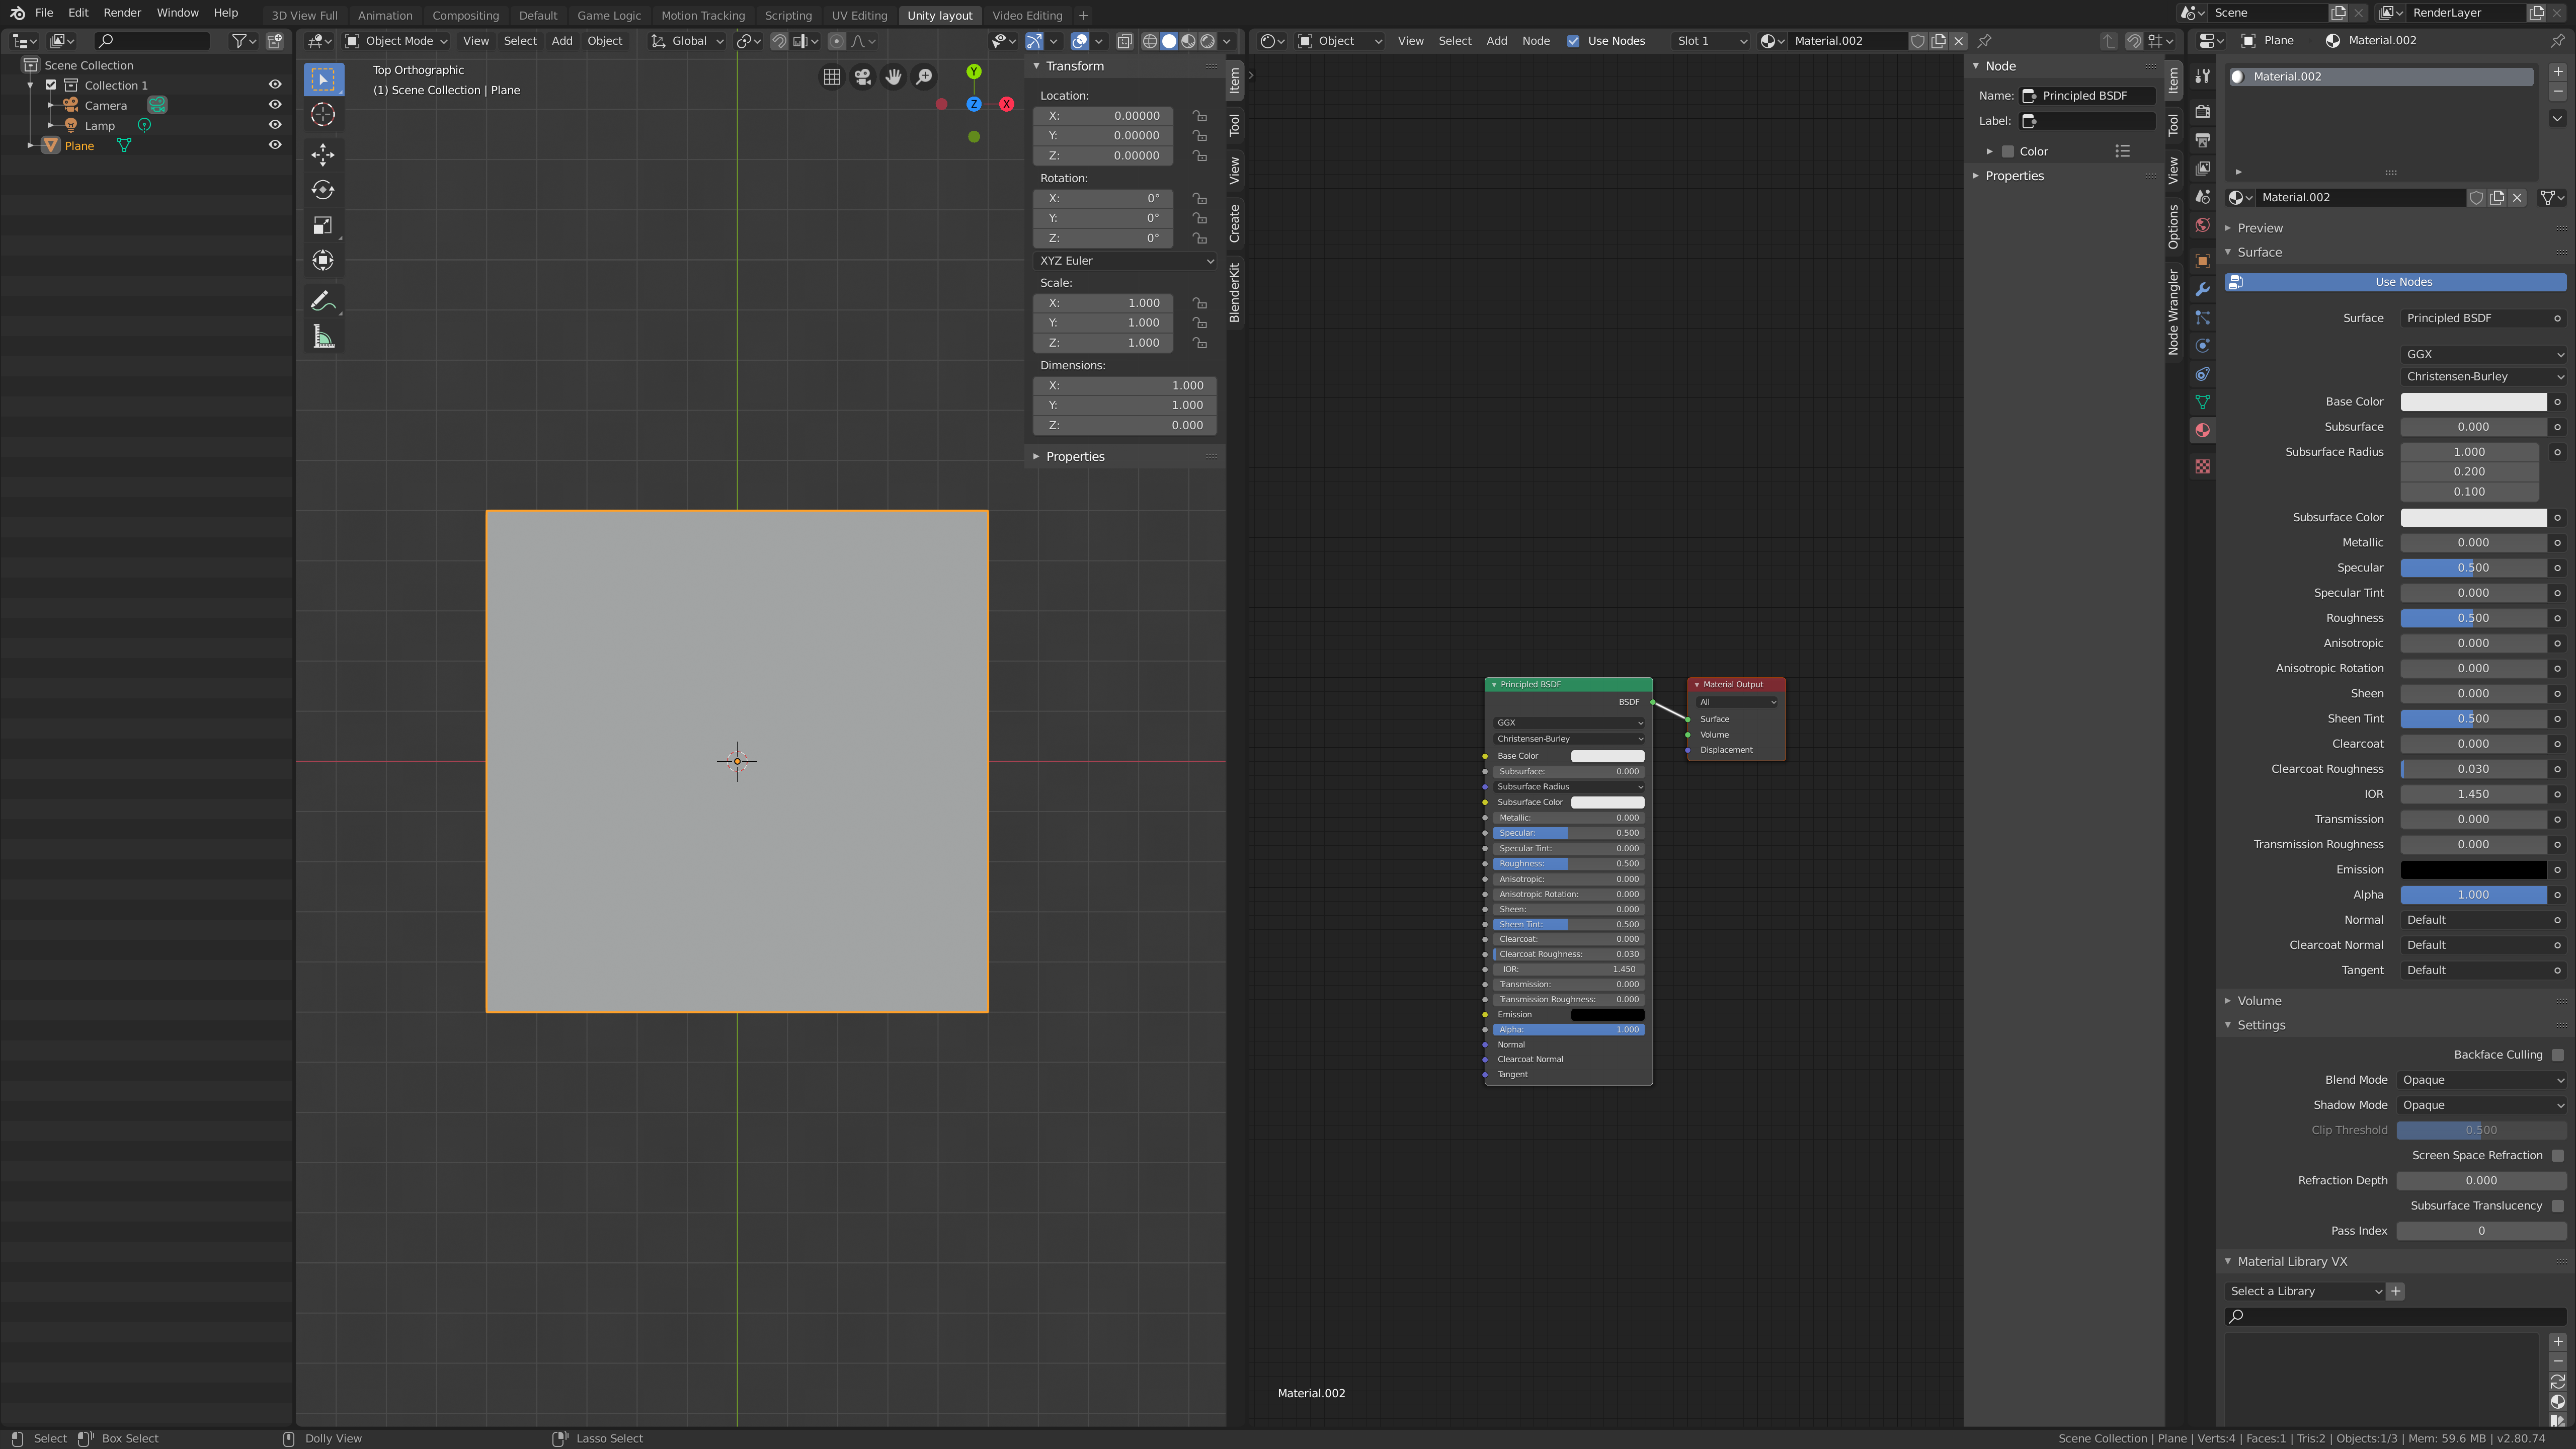
3. Select the Material tab in the Properties window and Click on the ‘New’ button to add a new material slot and fill it with a new material:
4. Make sure ‘Use Nodes’ is blue and open a separate Shader Editor window:
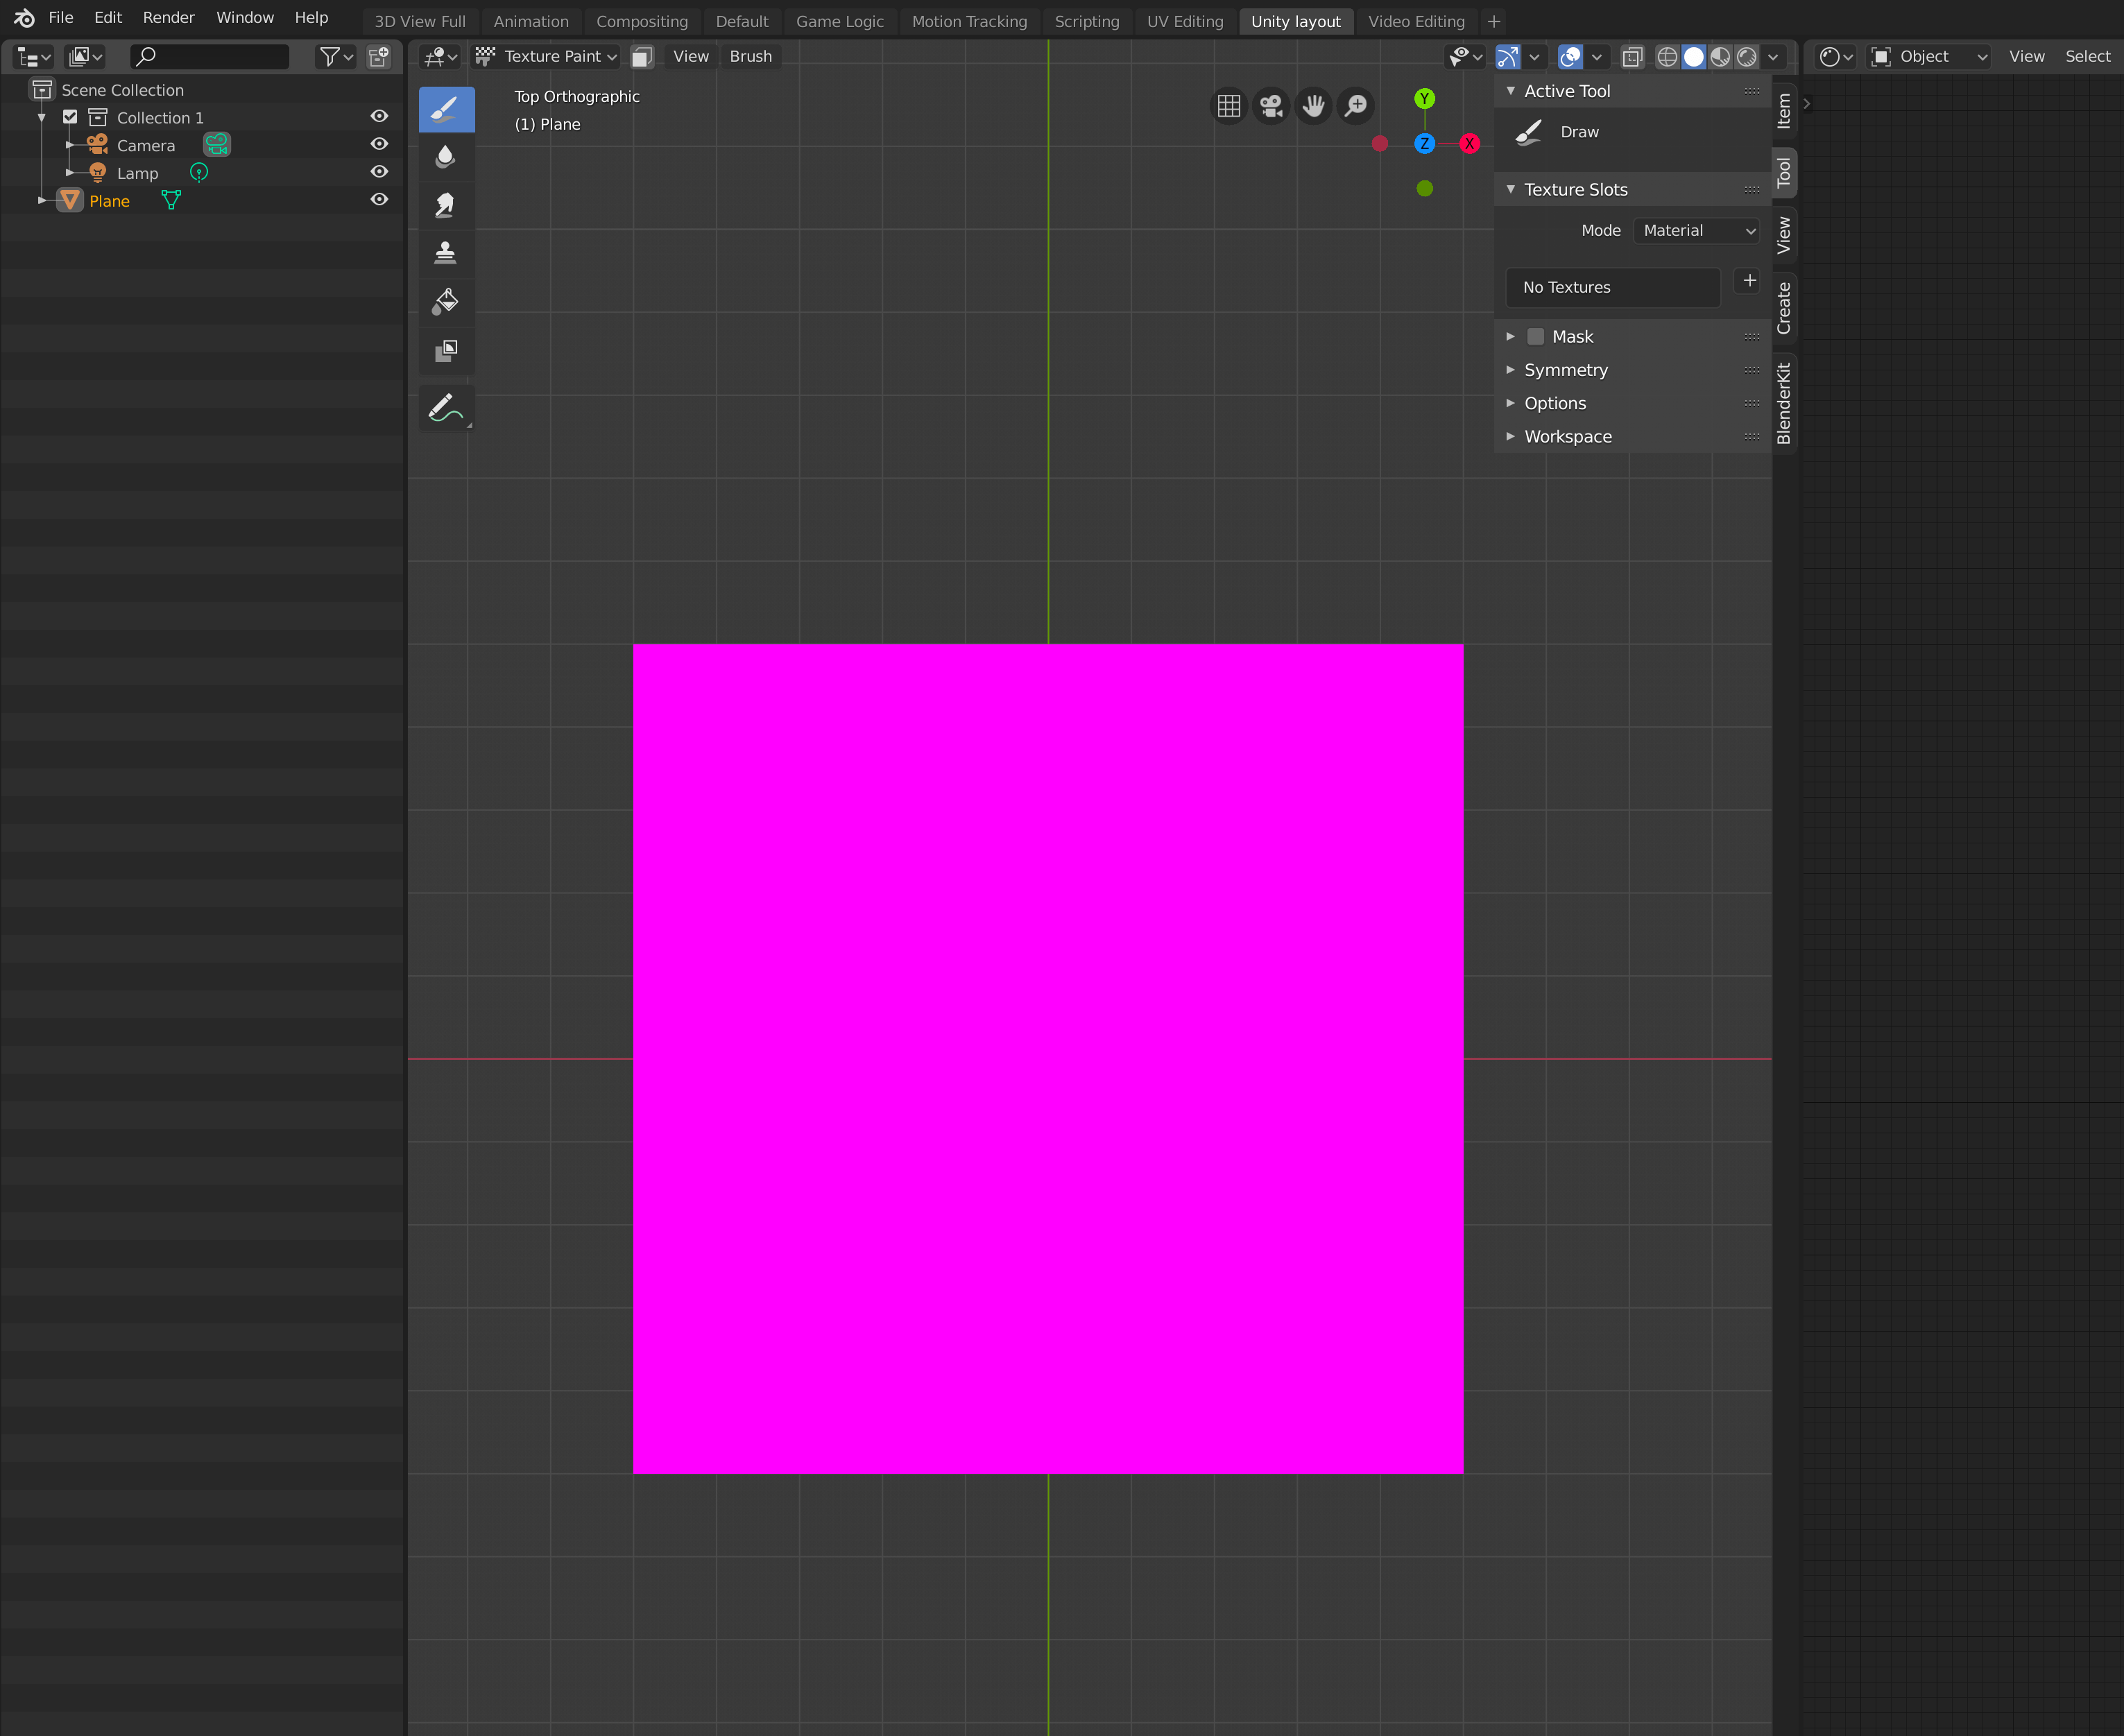
5. In the 3D Viewport switch from Object to Texture Paint mode:
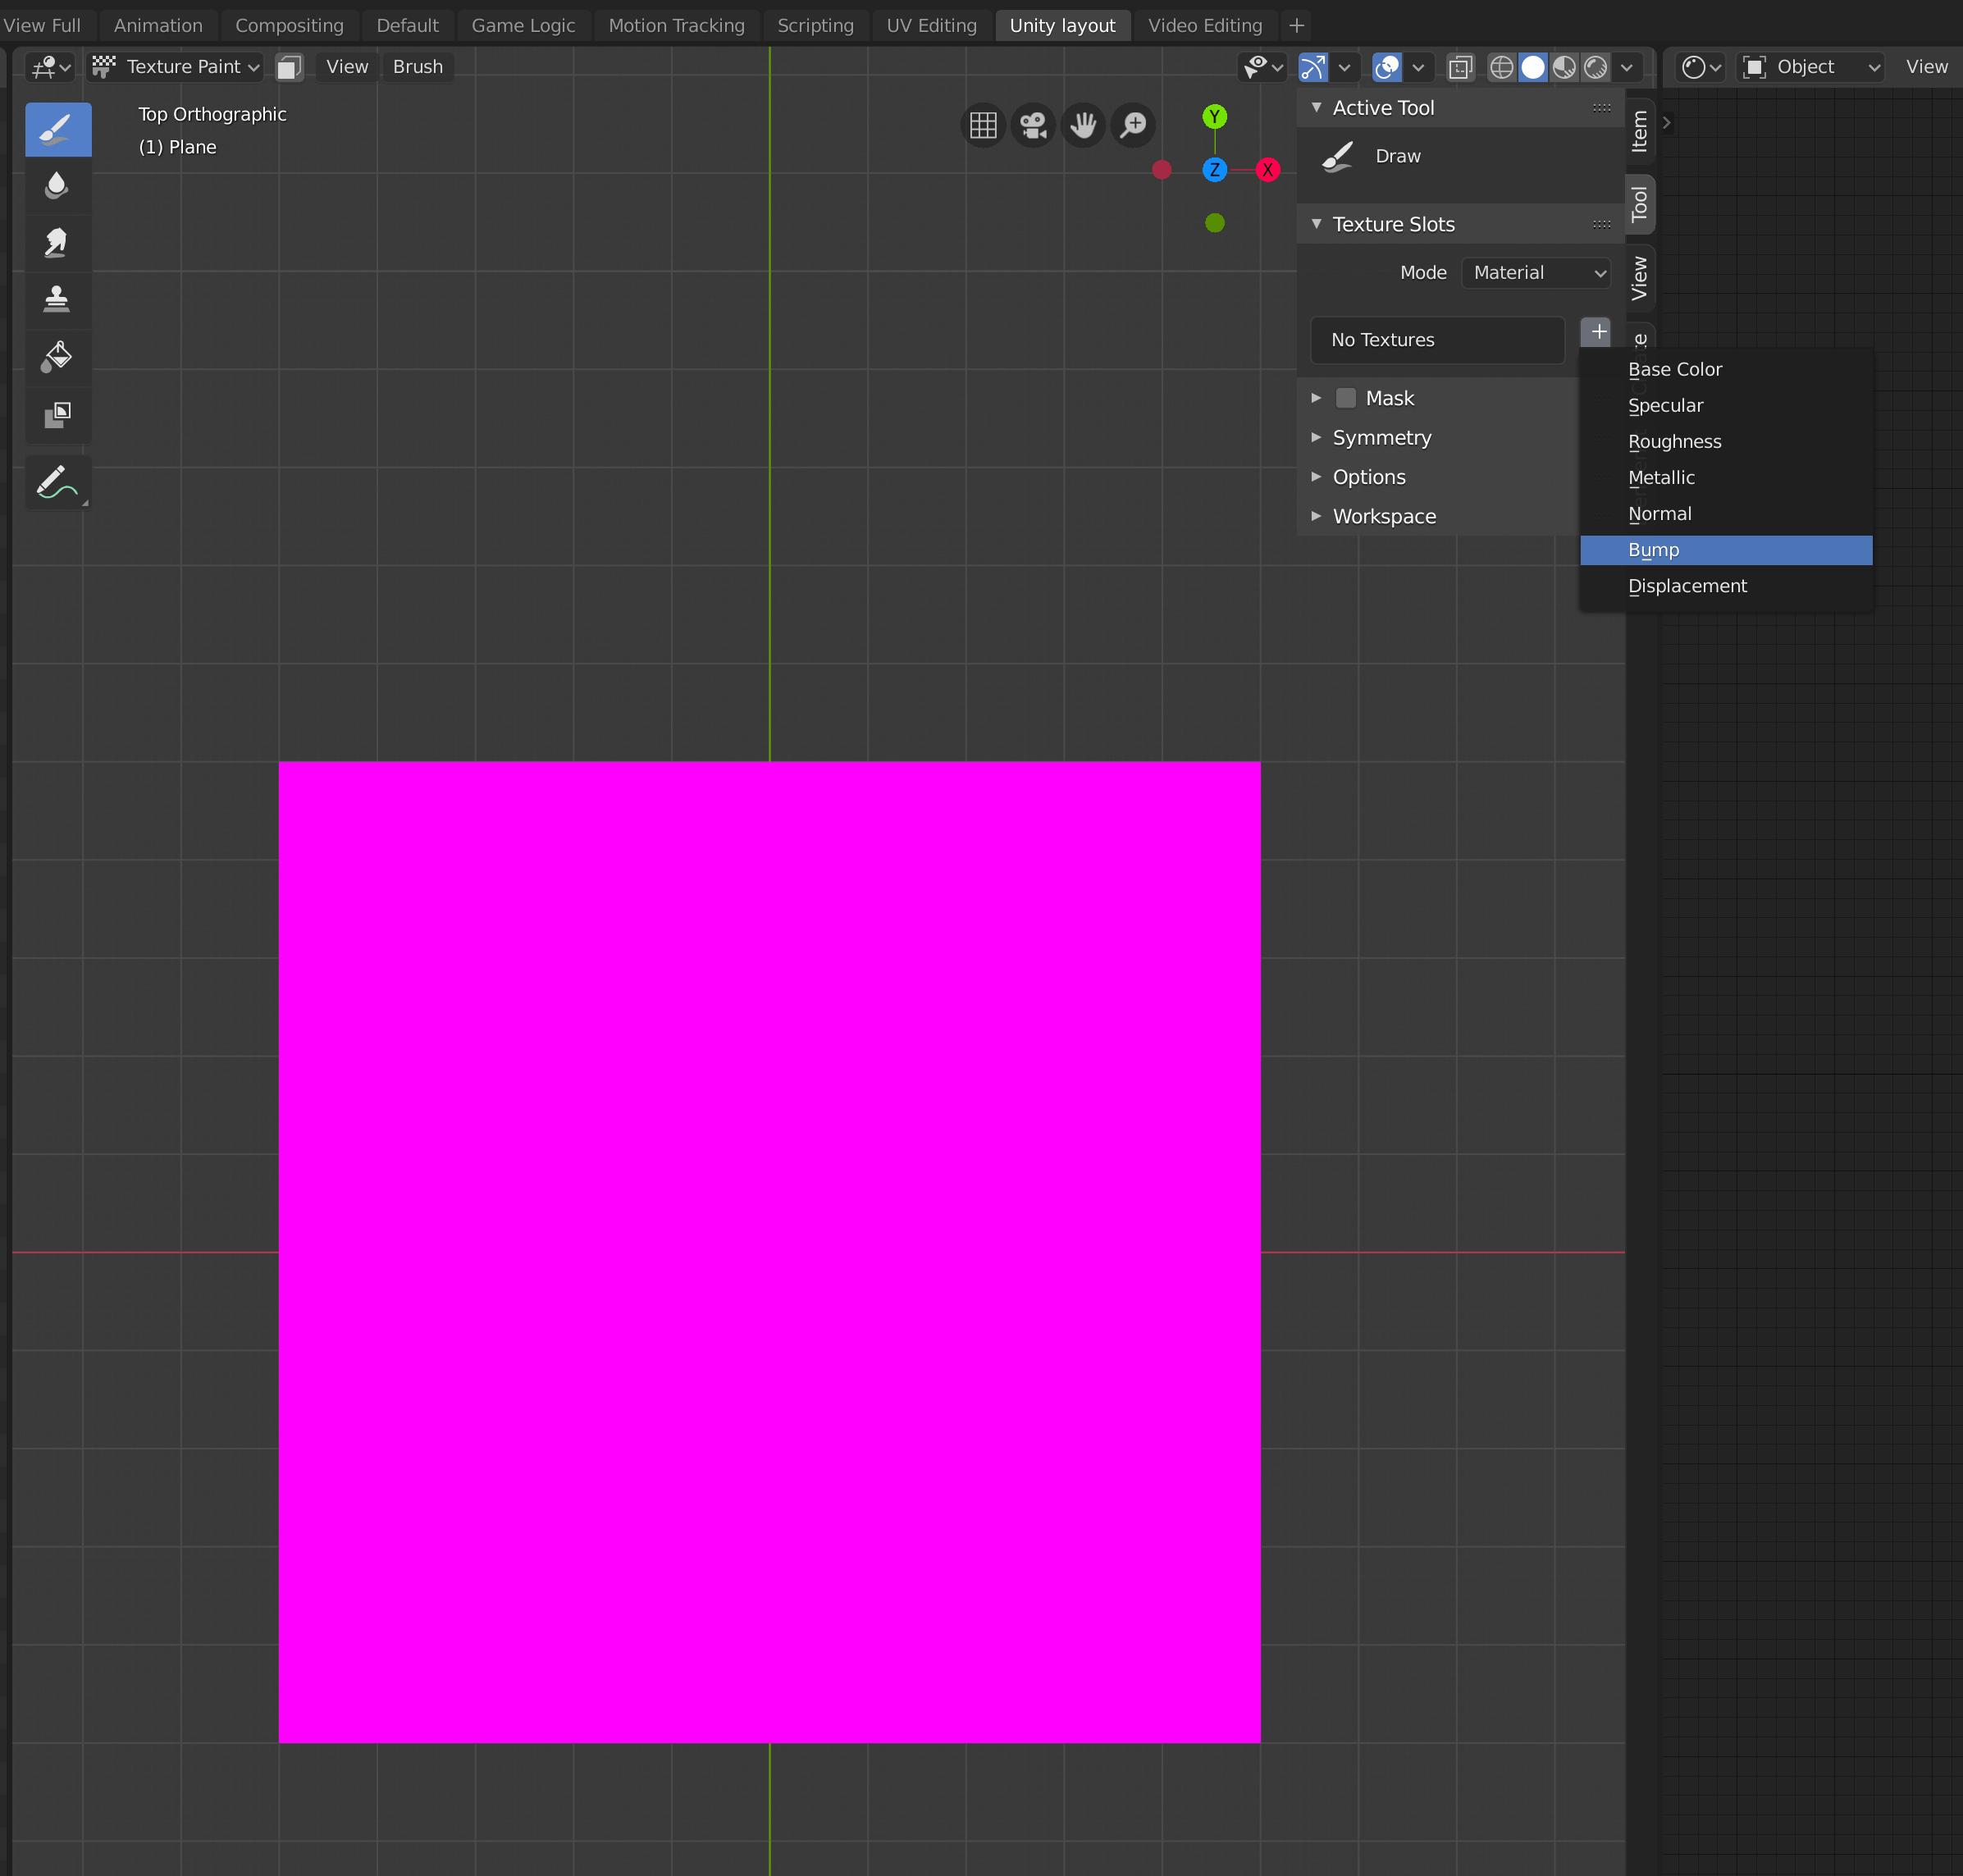
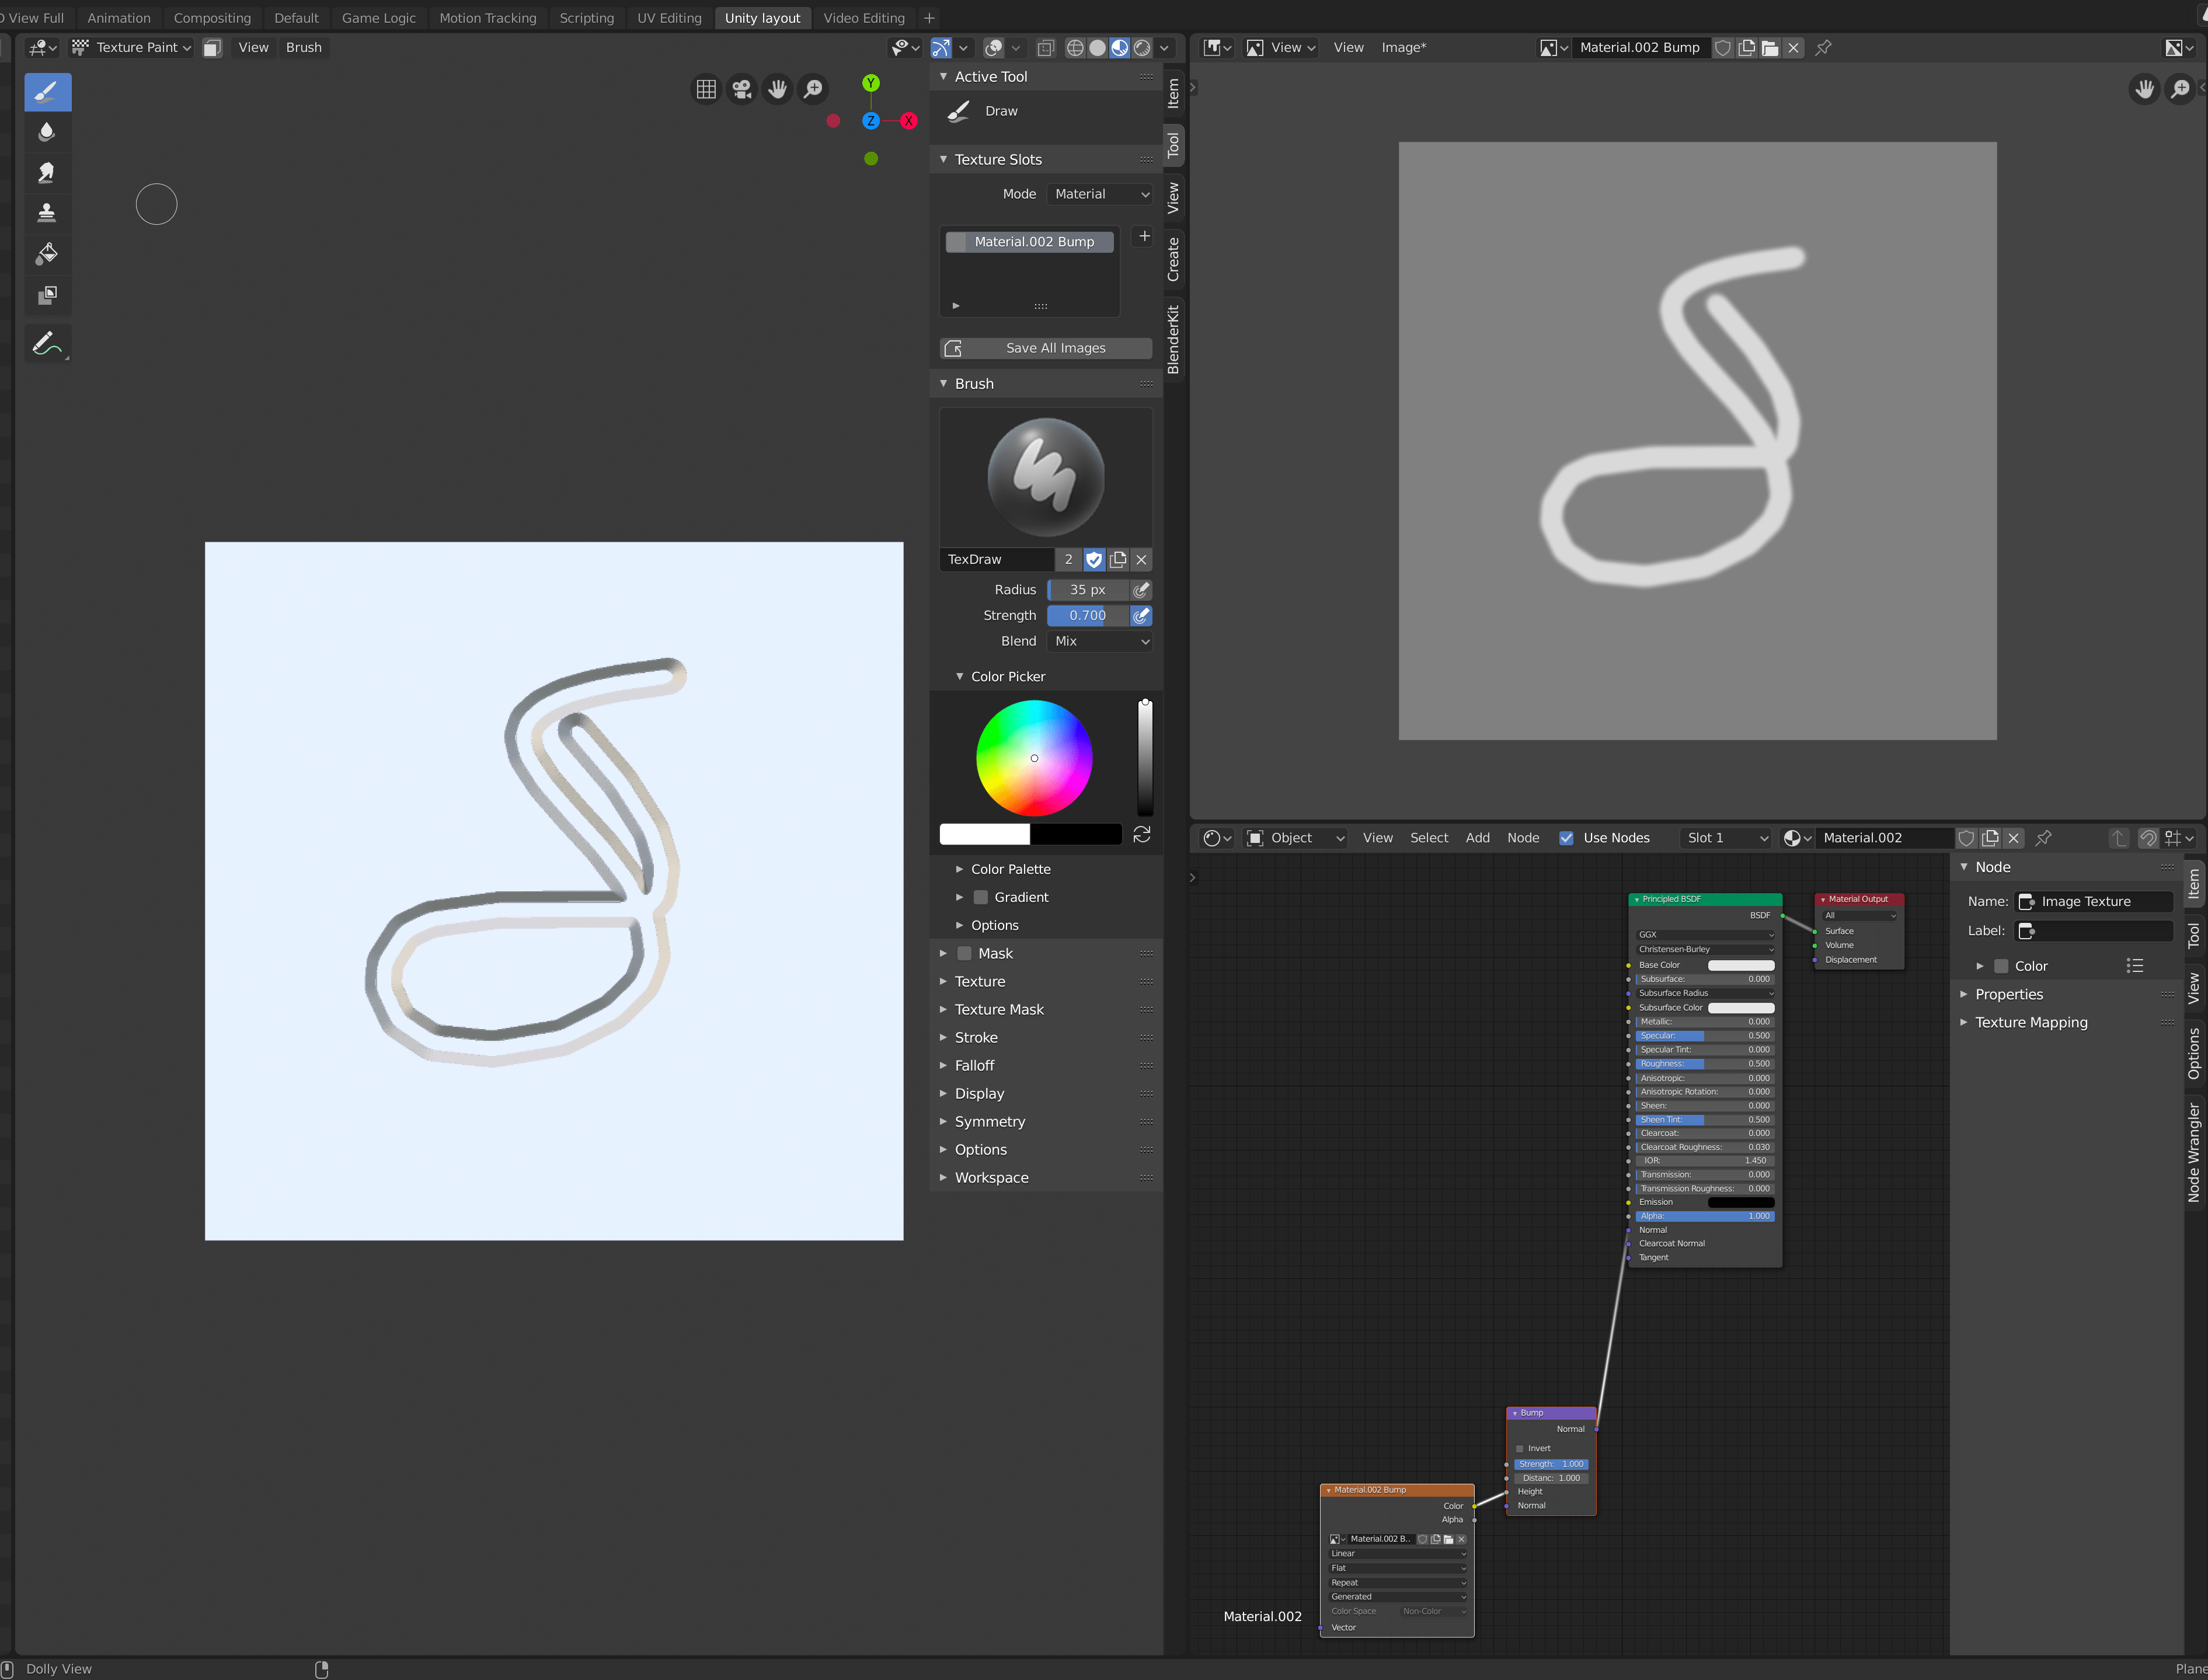
6. If it isn’t open already, open the right side menu in the 3D Viewport by pressing ‘N’ and then select the Tool tab. Create a new texture painting slot for a bump map by pressing on the plus button in the Texture Slots foldout section and select ‘Bump’ from the list:
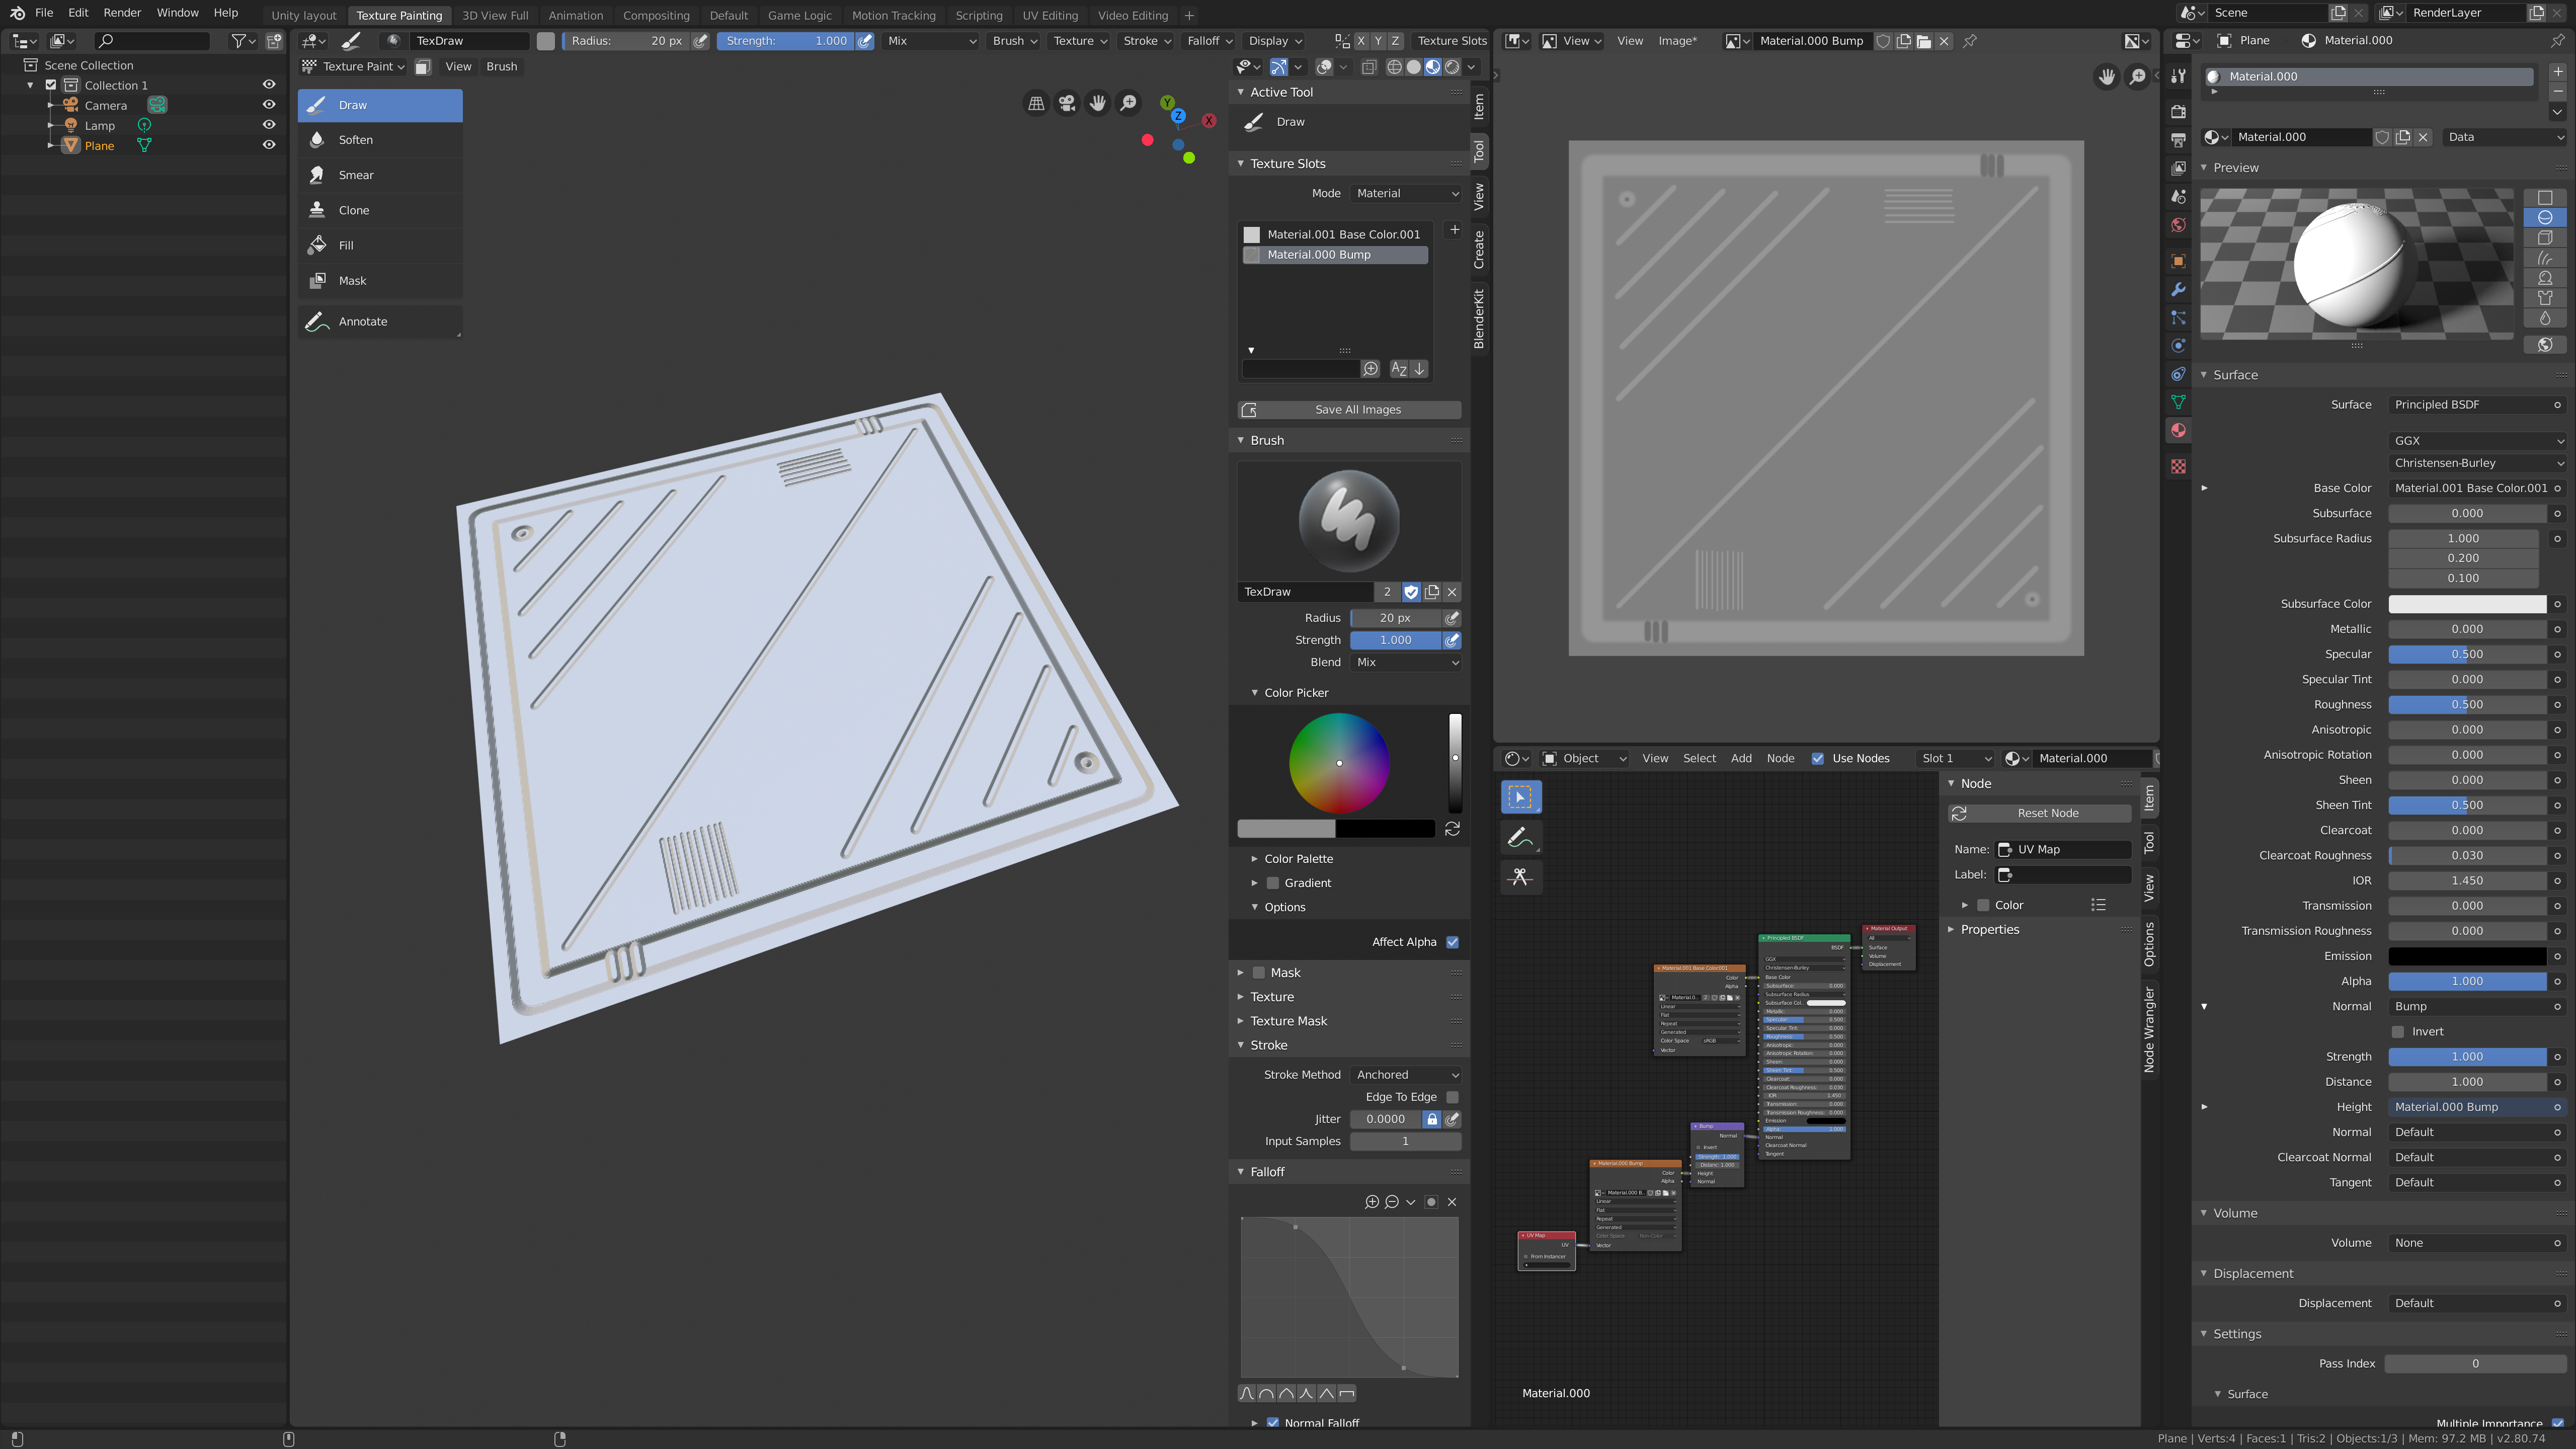
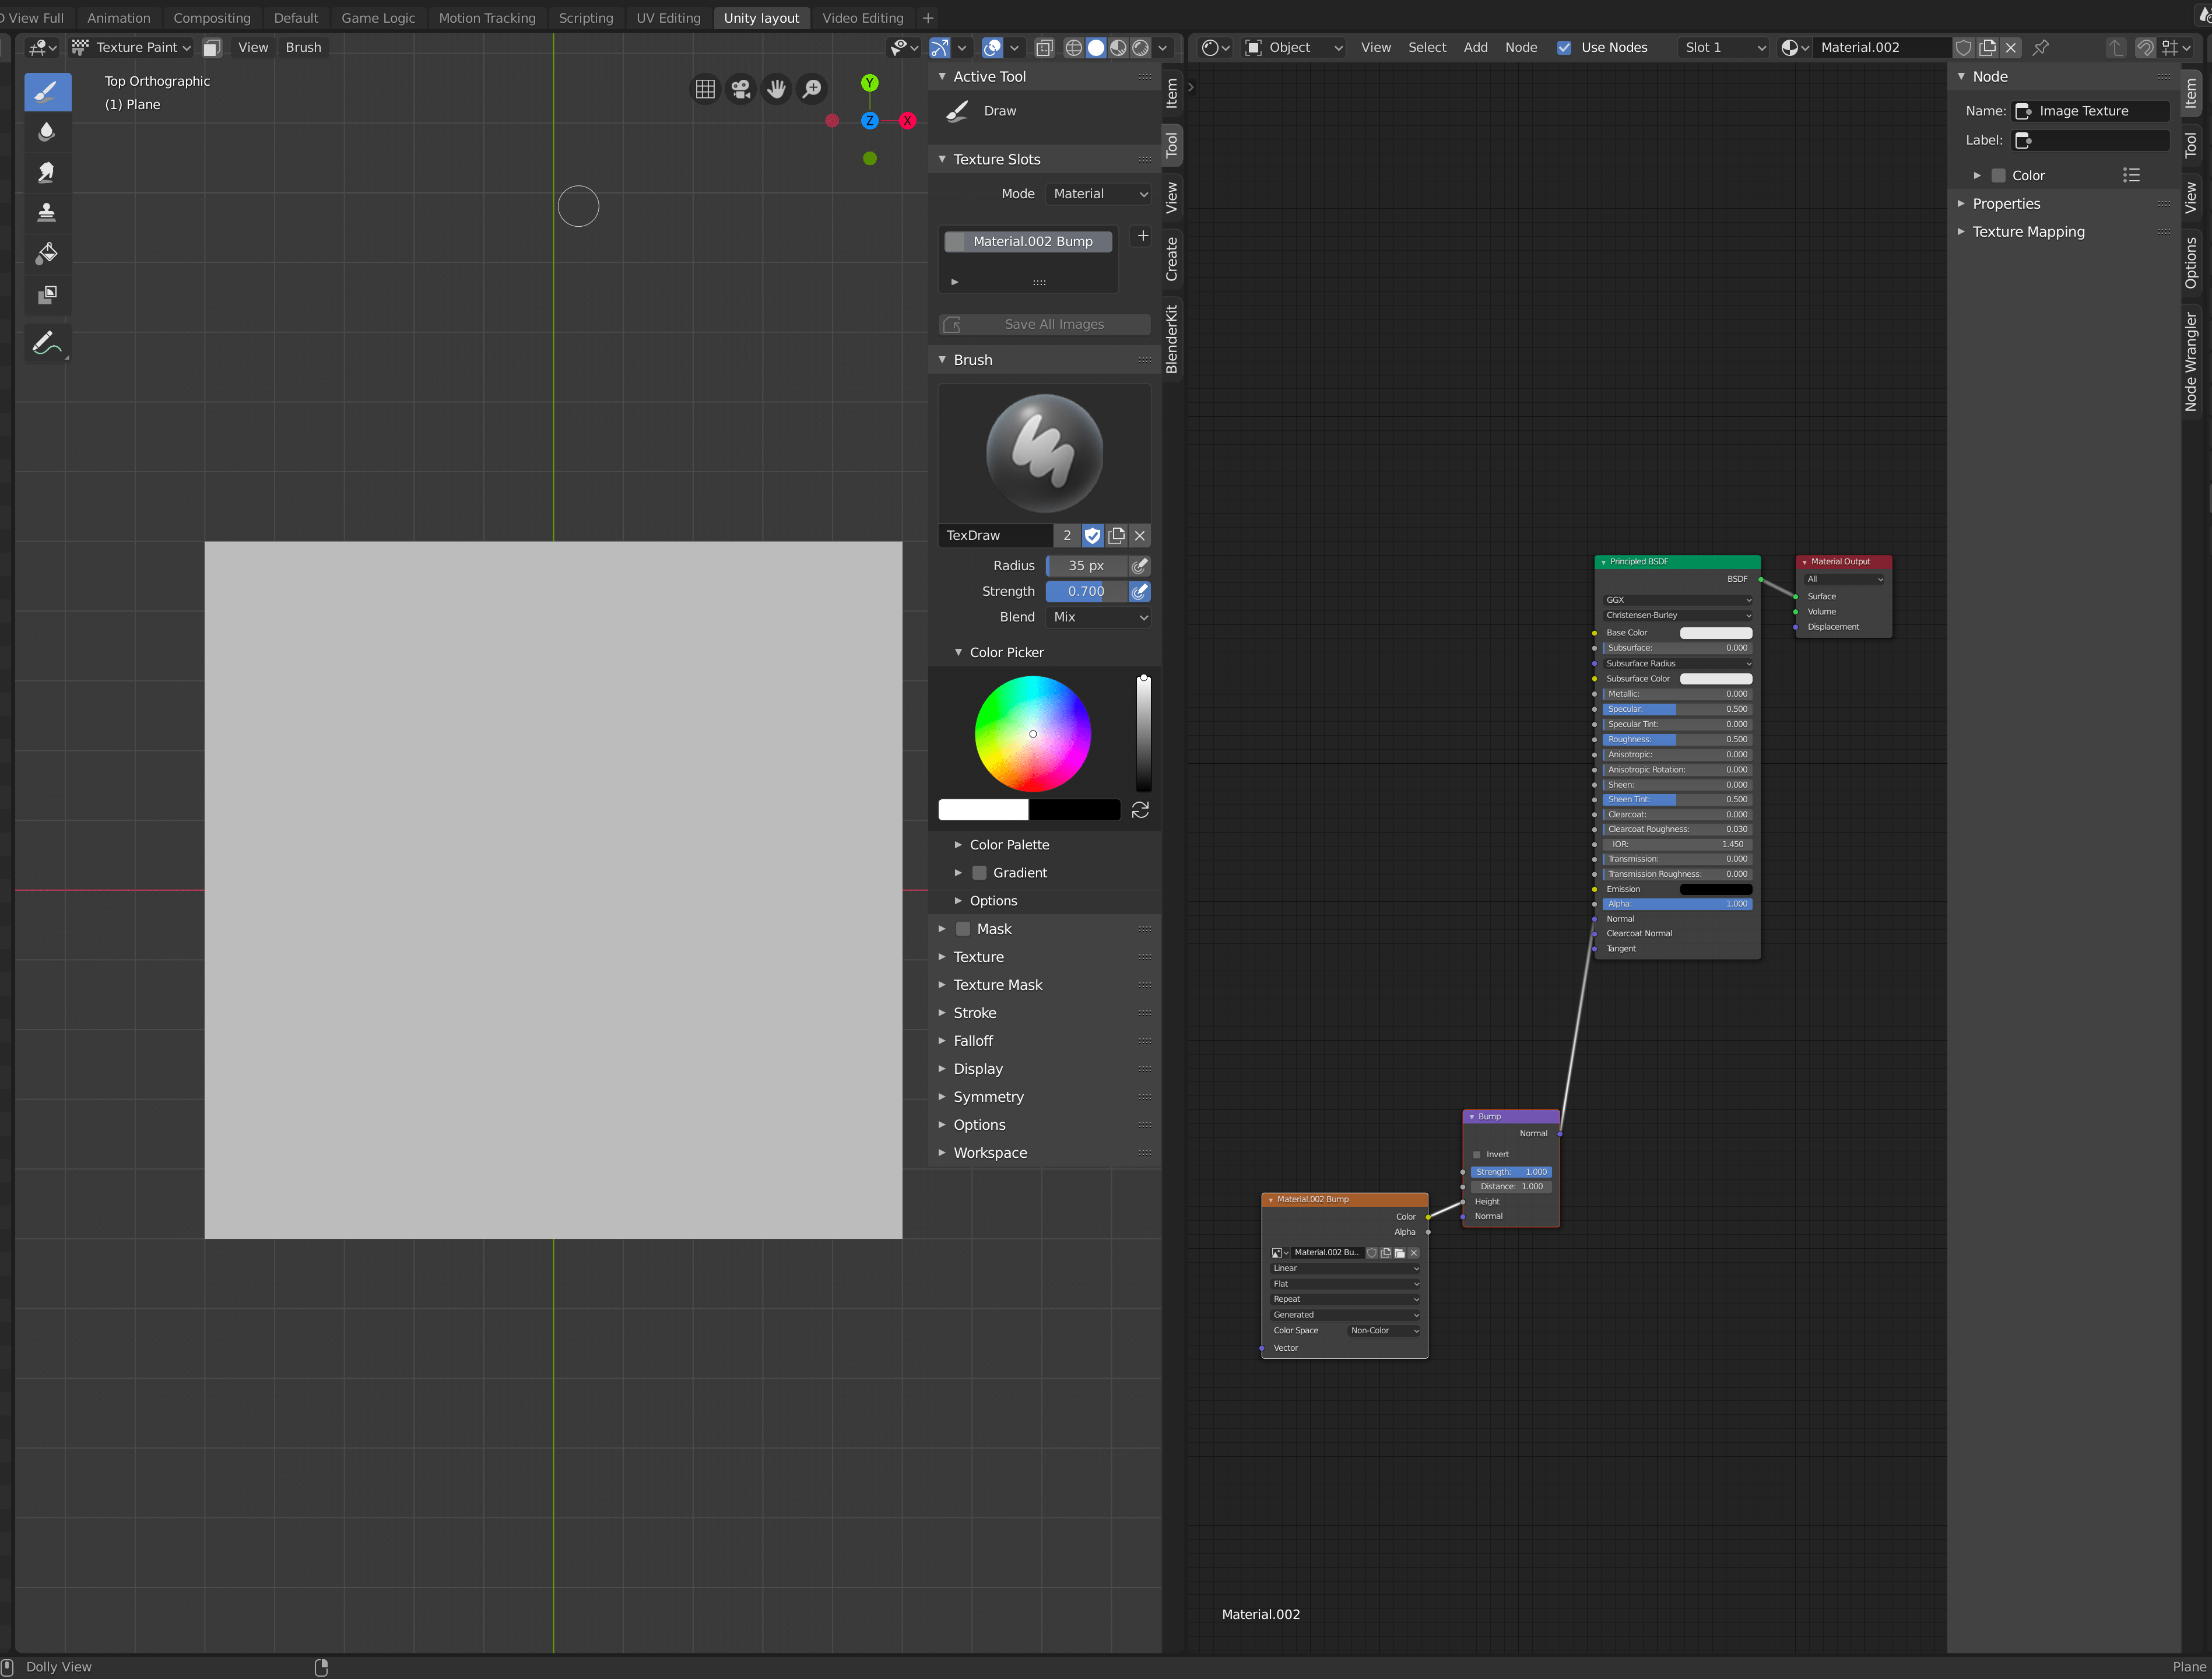
After a second you’ll see the pink color change to grey and in the Shader Editor window you can see two new nodes appear, a texture and a bump node that will be automatically connected to the Normal input on the Principled BSDF node:
7. Open a separate ‘Image Editor’ window so you can see what’s going on later when you’re drawing the bump map and select the bump map texture by clicking on the ‘Select image to be linked’ Button in the header of the Image Editor window:
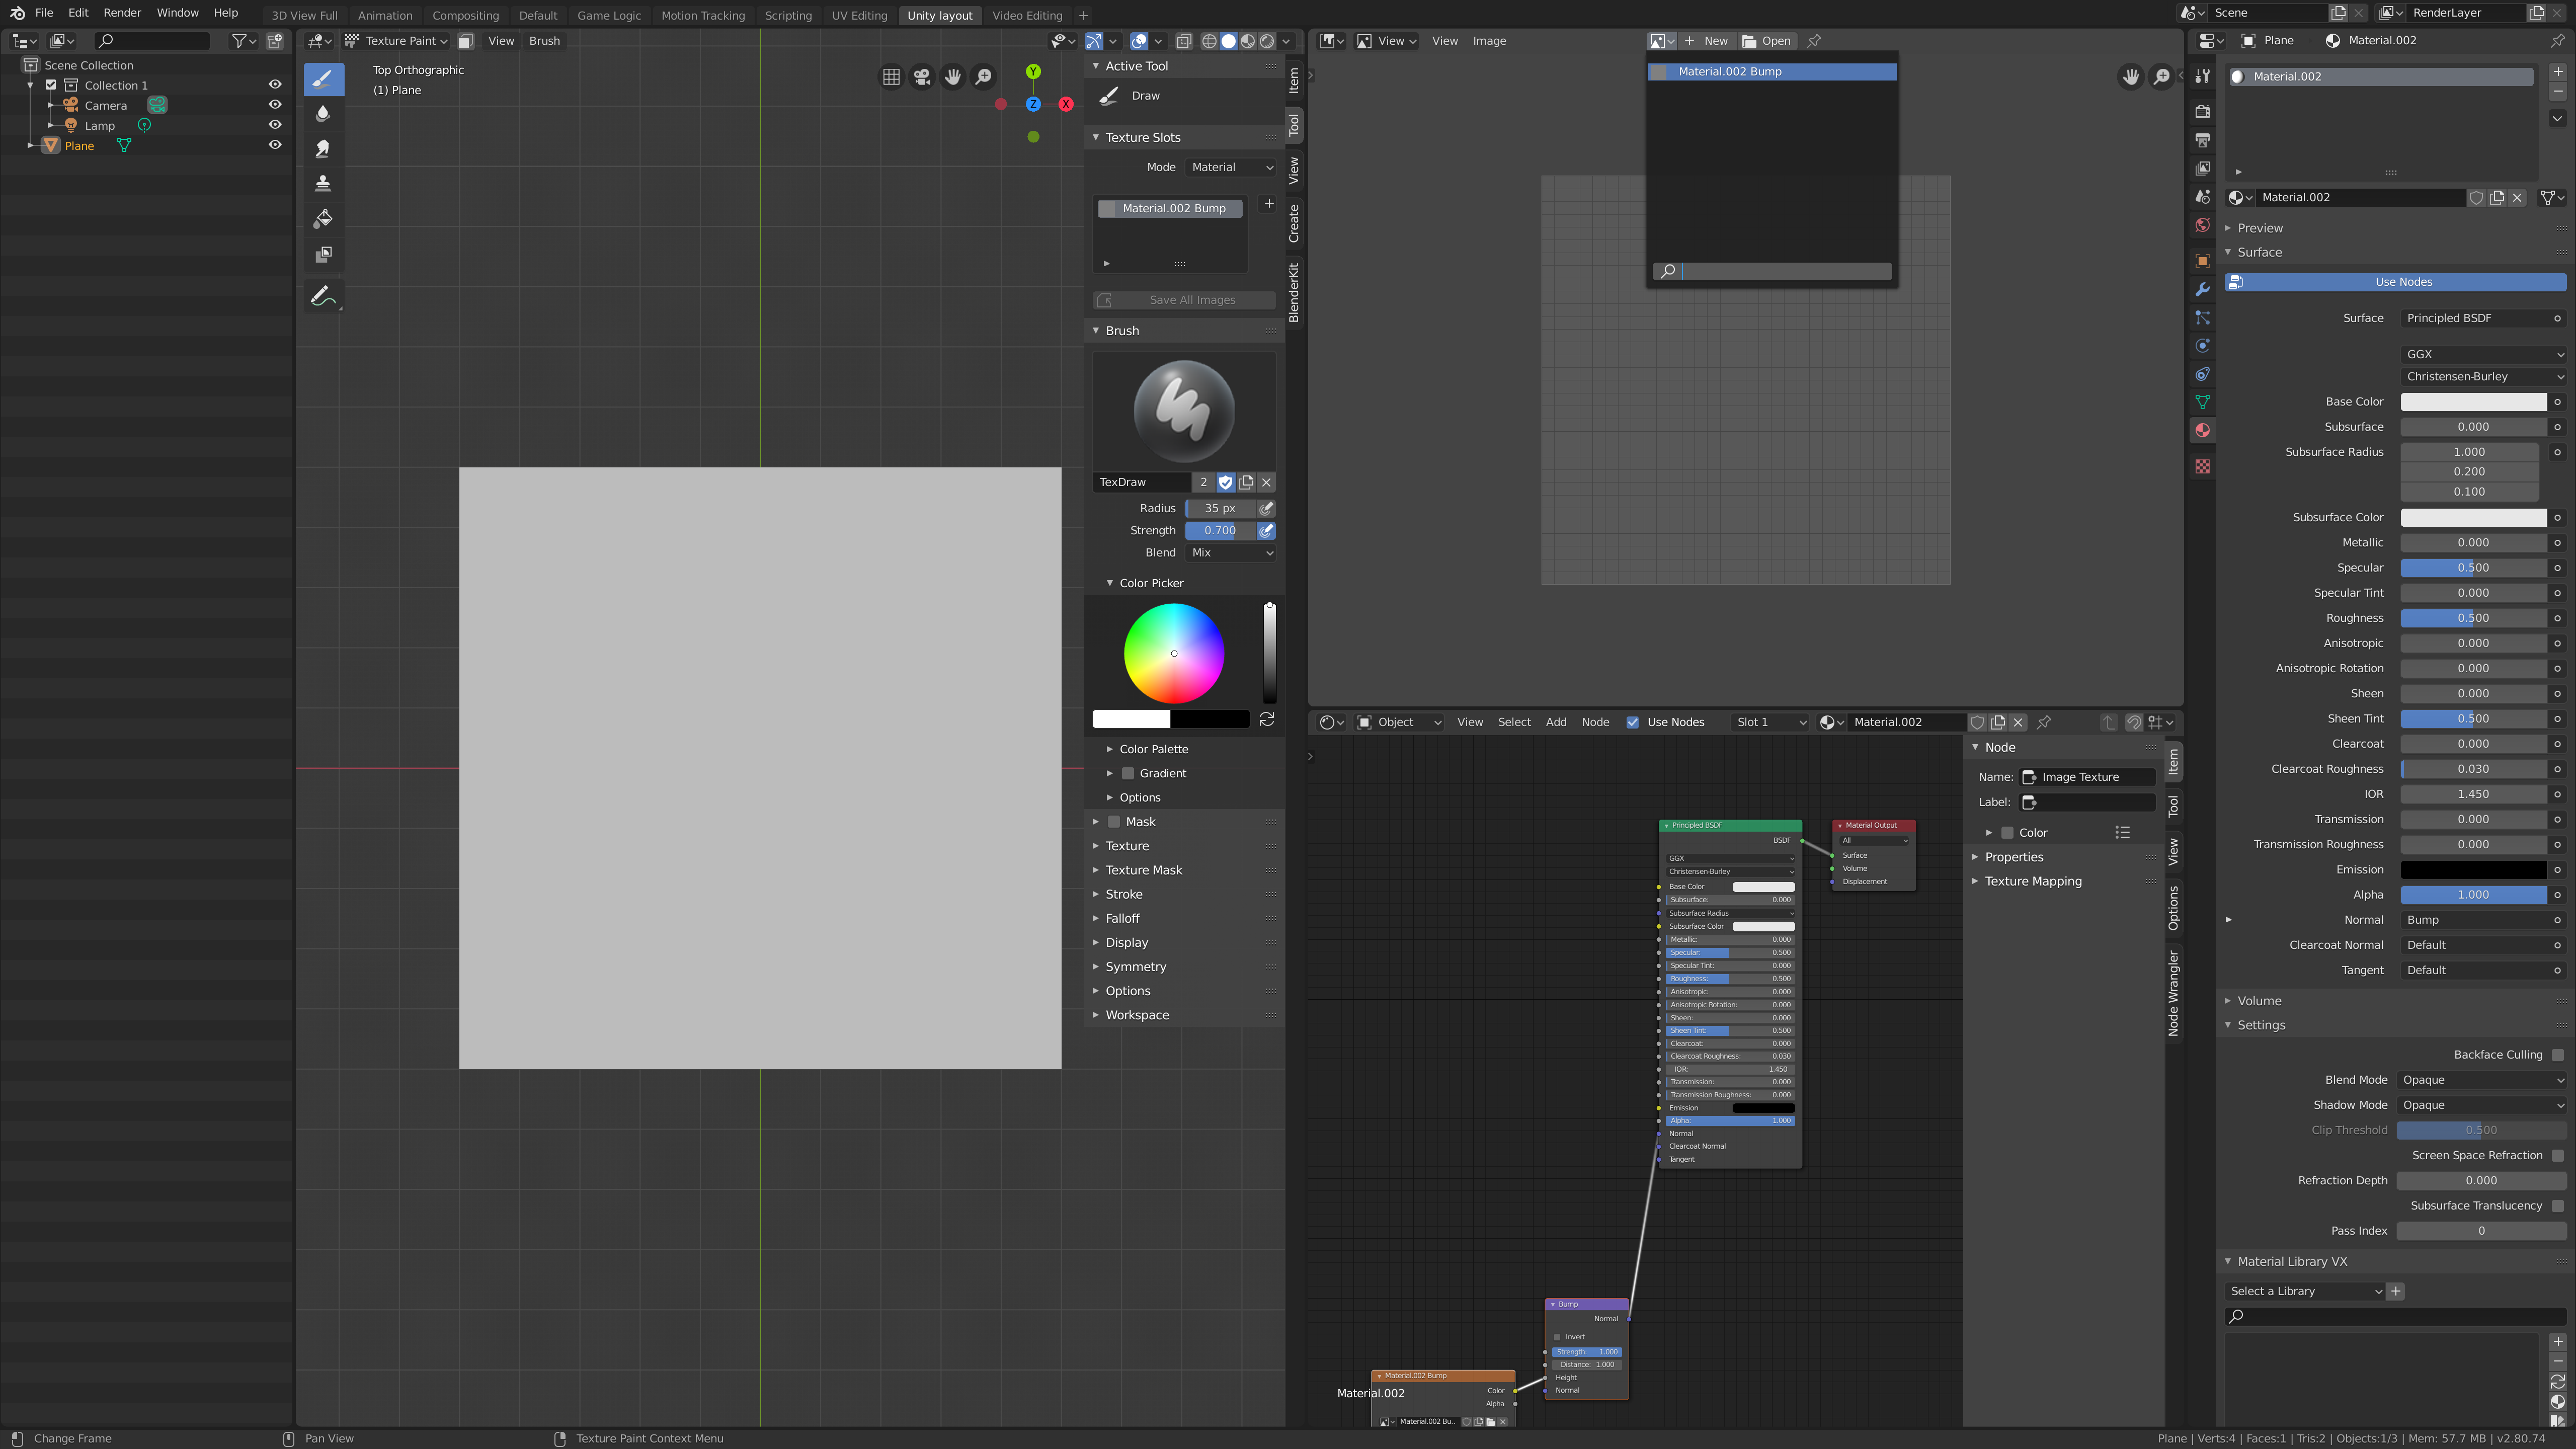
8. If you draw in the 3D Viewport now, you will see the lines appear but you will not see it as a bump map with depth..:
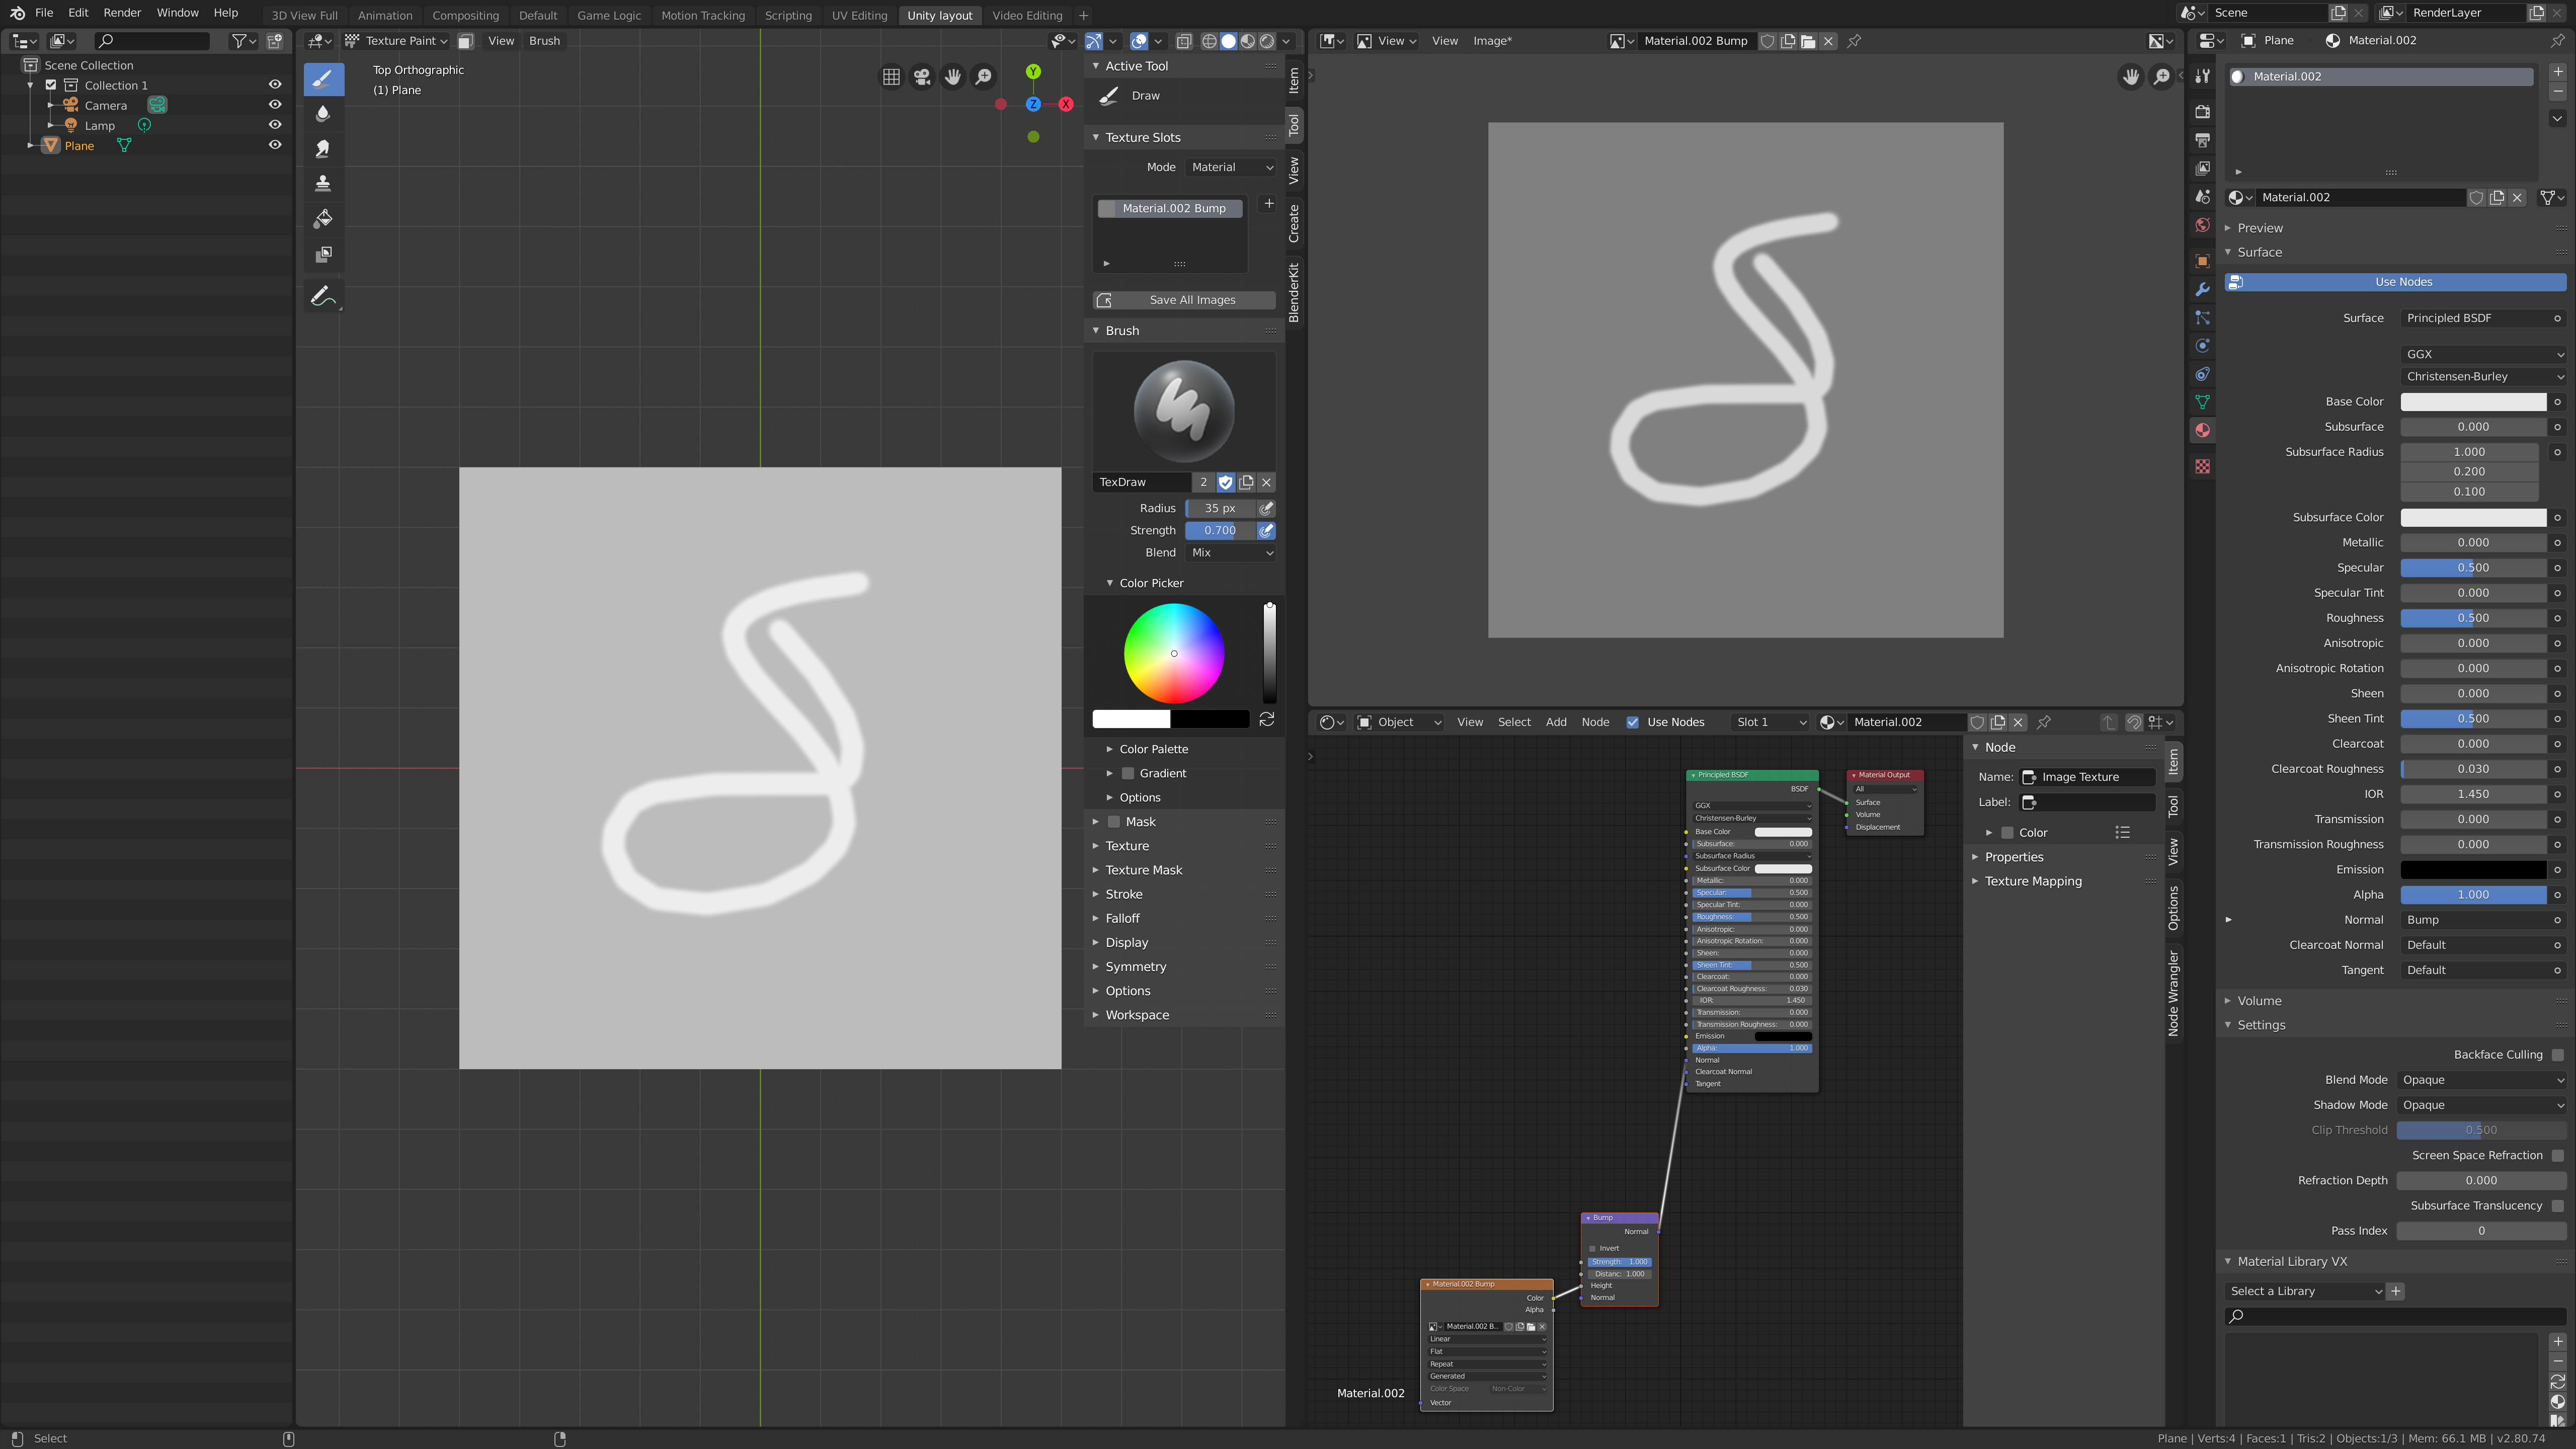
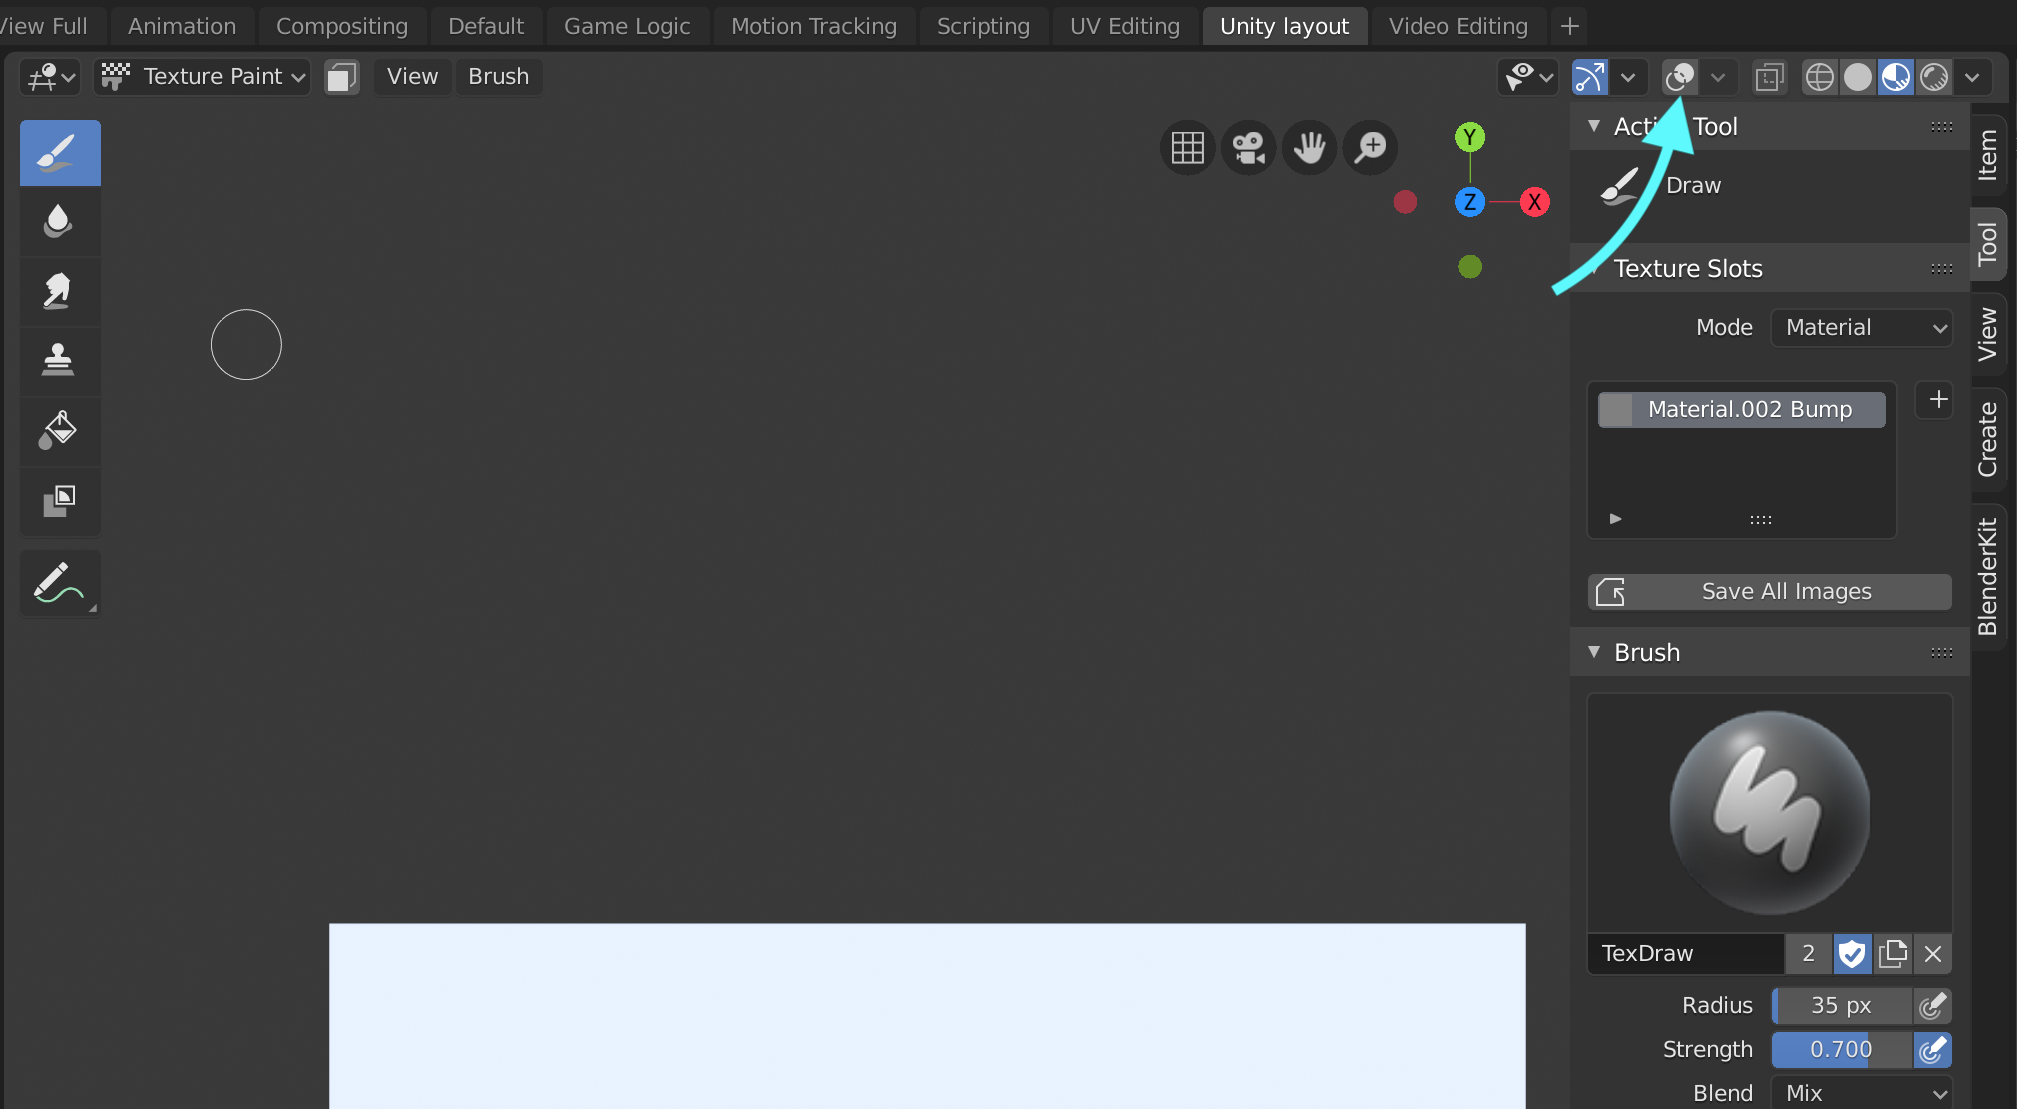
To be able to see the depth live in the 3D viewport, click on the ‘Show overlays’ button in the header of the 3D View port to disable the overlays:
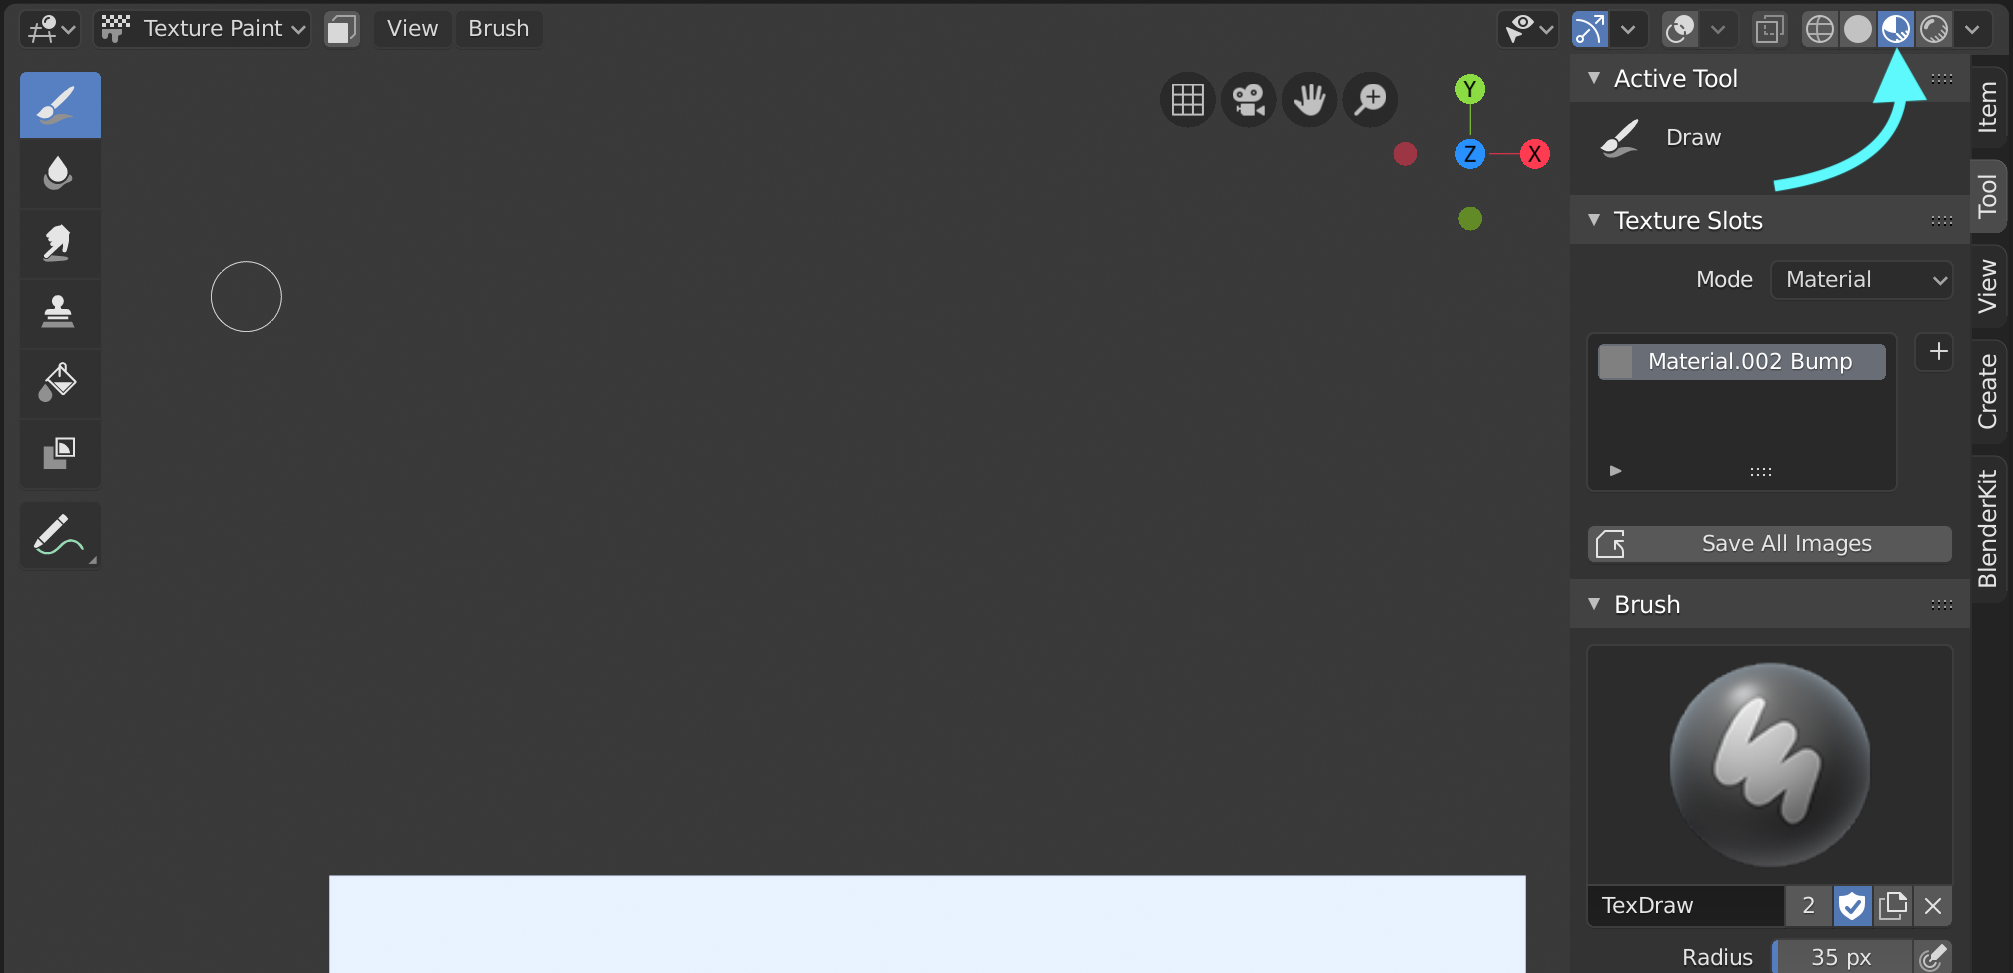
Also switch to either the ‘Lookdev’ viewport display, or to the rendered viewport display in the same header:
You can now see the plane with with the bump map applied in Texture Paint mode!:
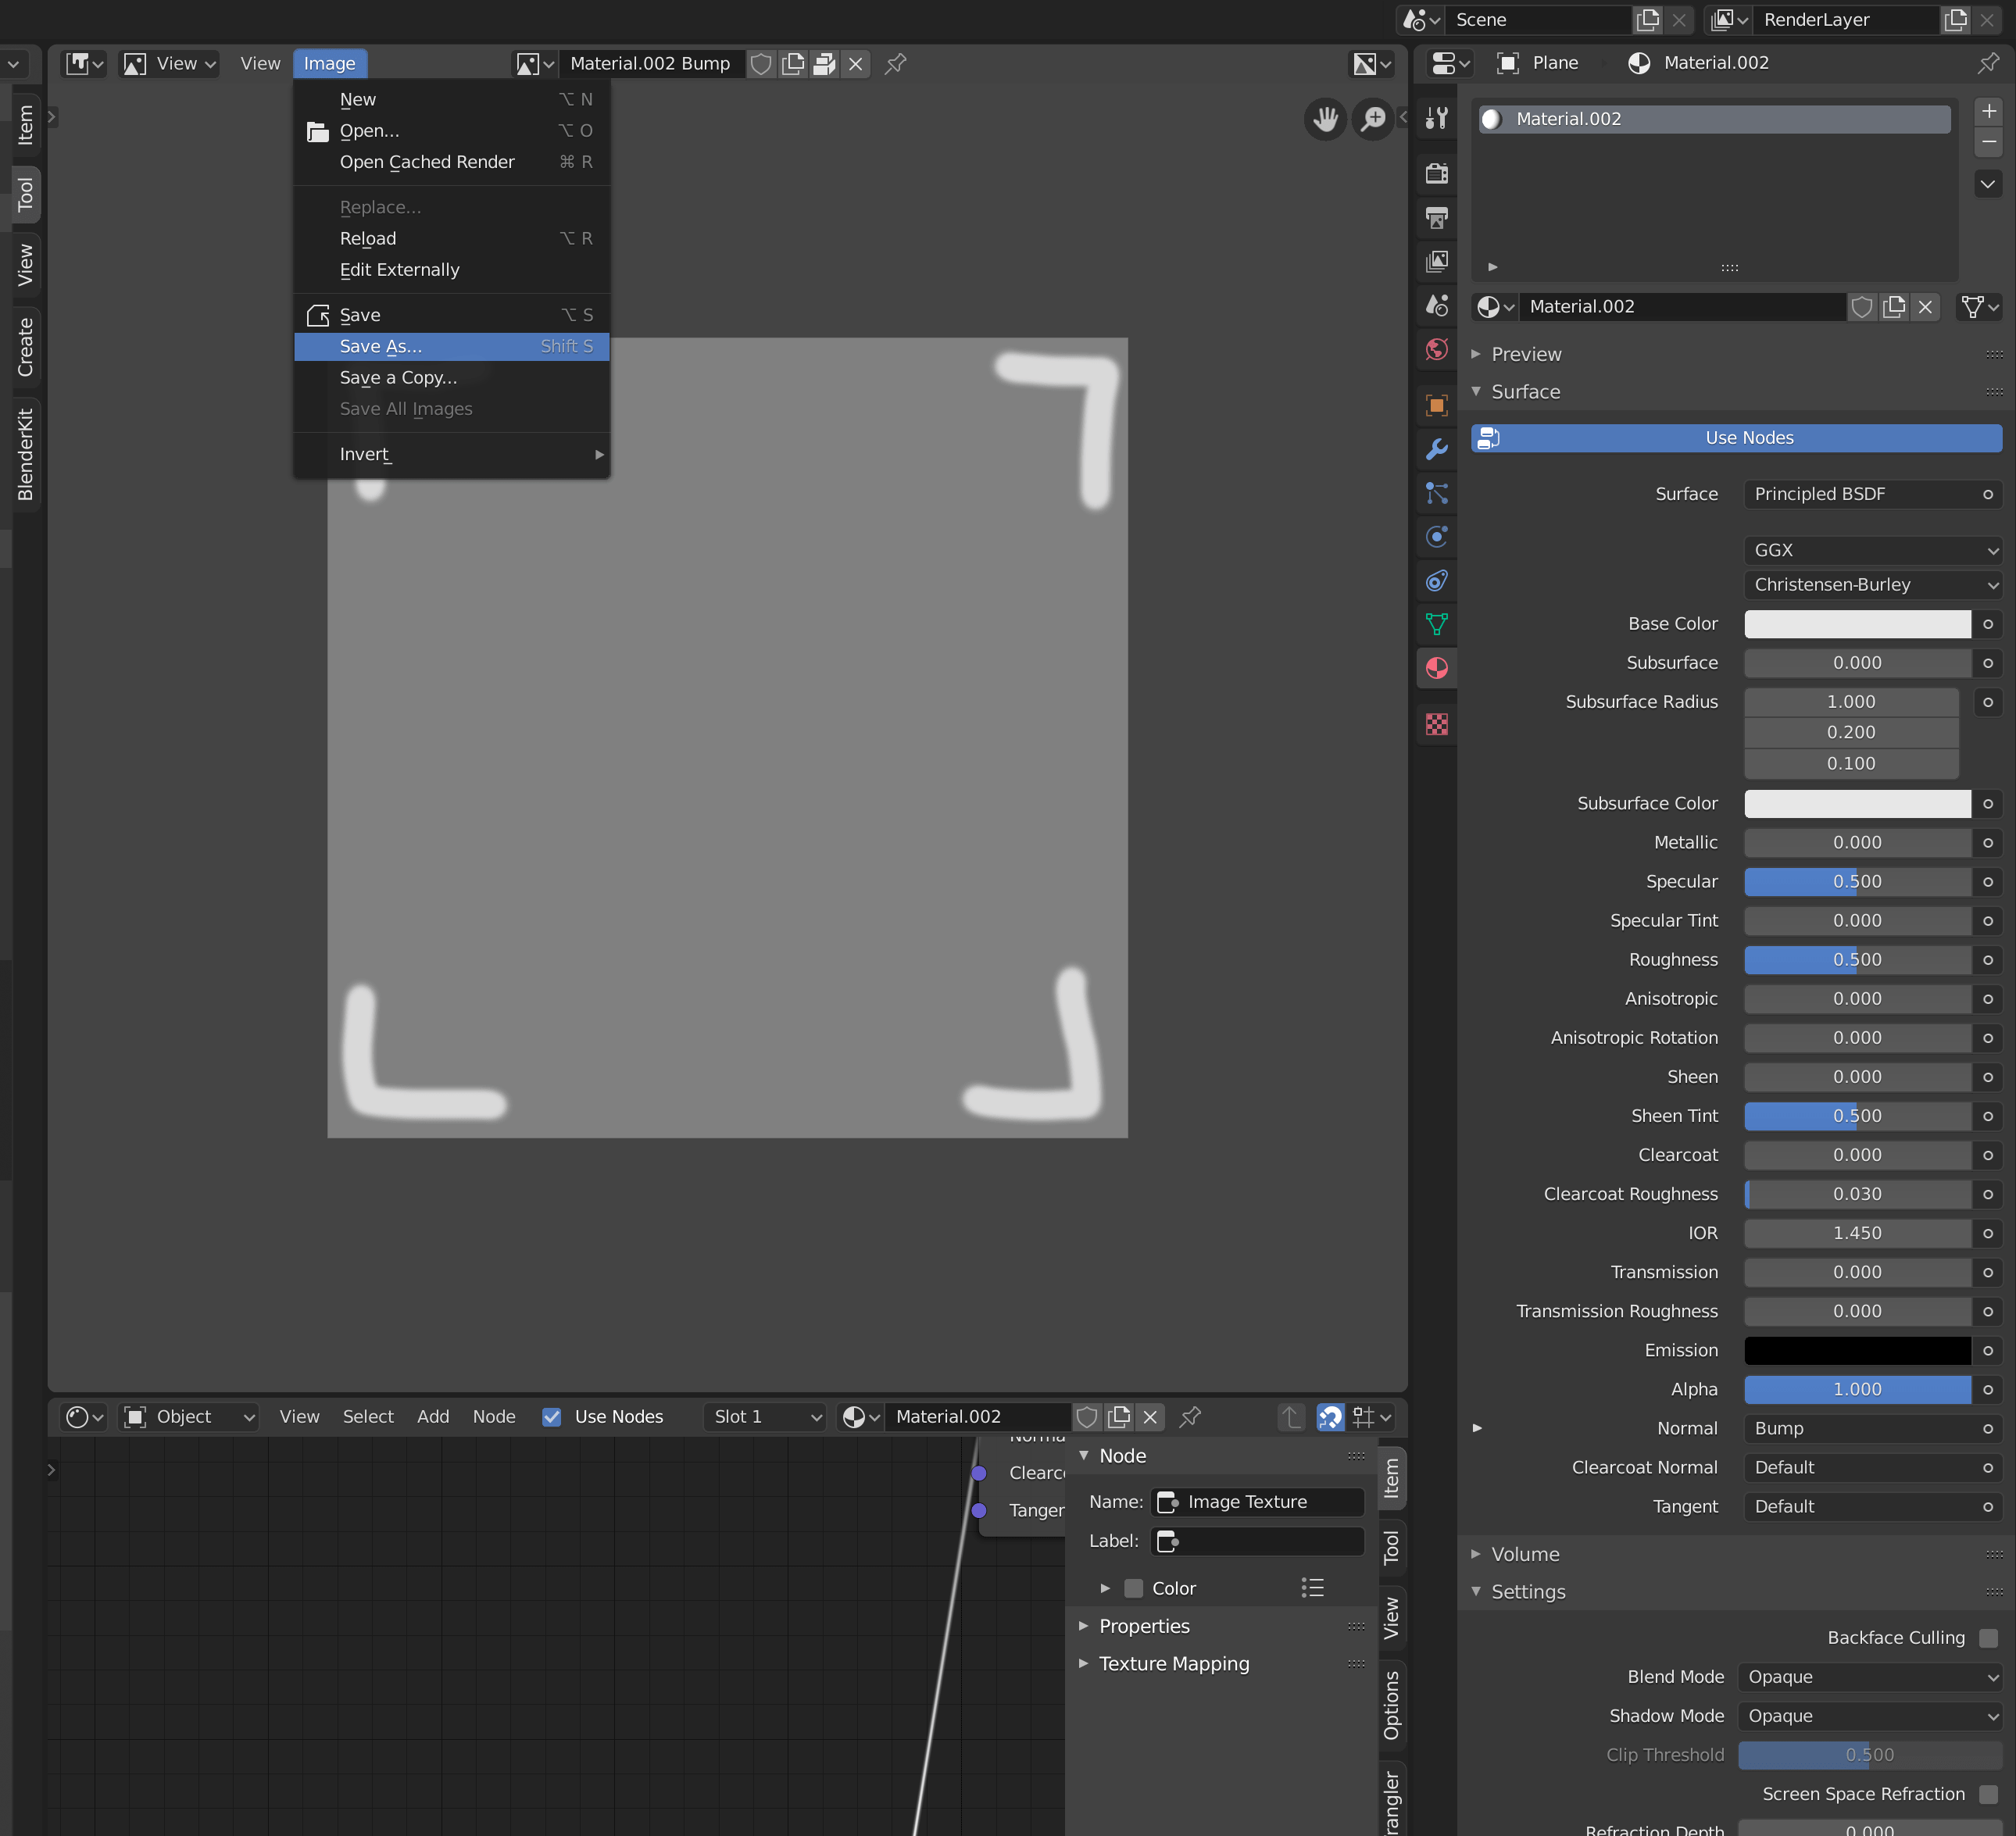
9. To save te bump map externally press Image > Save as.. in the Image Editor header:
That’s it!
The same method can also be used to create normal maps, simply by creating another texture slot as you did in step 6 but then select Normal from the pop-up menu and by connecting the newly created normal node to the Principled BSDF node’s normal input manually in the Shader Editor window.
