For a couple of weeks now I have been working on creating a tower defence singleplayer+multiplayer game. The plan is to develop it for Windows and MacOS first and then hopefully later (when I can afford a good VR development workstation:)) turn it into a VR game as well.
For this game I was mostly inspired by Korix for the Playstation VR so I’m using that game as a example. I have never made a tower defence or strategy game, but I will deviate from it during the process as much as I can to make it my own.
Here are some screenshots from the process:
(More info about the game at the bottom of this post)
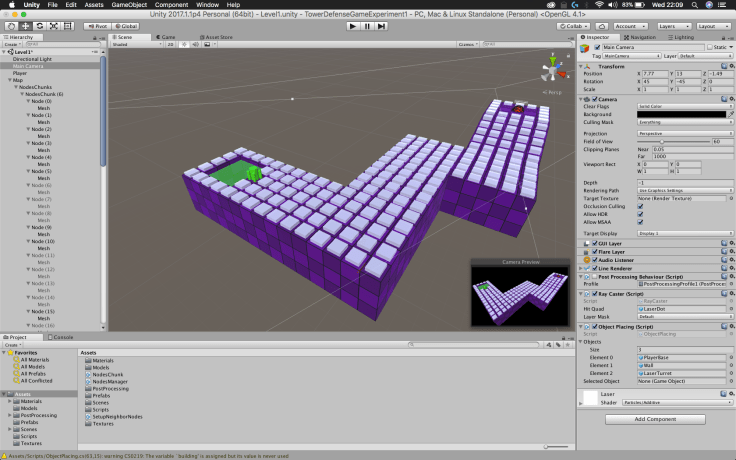
The start of a nodes based grid system.

The white nodes all have a collider set to trigger attached to them. This way I can use raycasting to check if the player aims at a node and use the position of the node to place a wall or a turret on top of it.

For the multiplayer lobby I am using Unity’s network lobby demo from the asset store as a template.

The players are all represented by a helmet as a head. For the design of the first prototype helmet I have used a Iron Man head model as a template so I had something nice to start with modelling it in Blender.

The first time the multiplayer mode started to work!
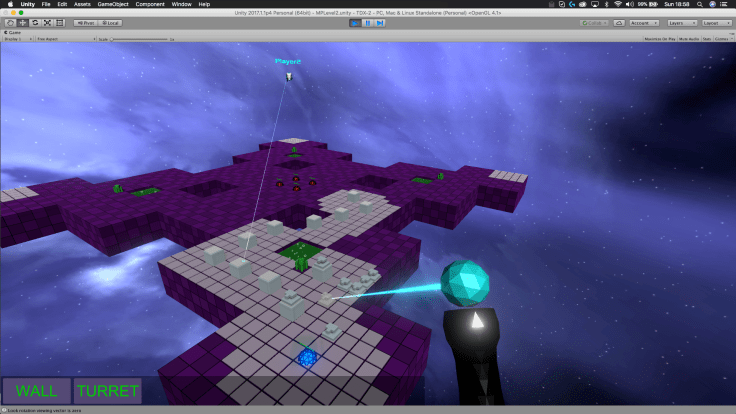
The players start with a small piece of territory on which they can build their base, then by building walls the players can expand their territory. Turrets can be placed on top of the walls or on the ground to defend the base from enemy turrets and units.
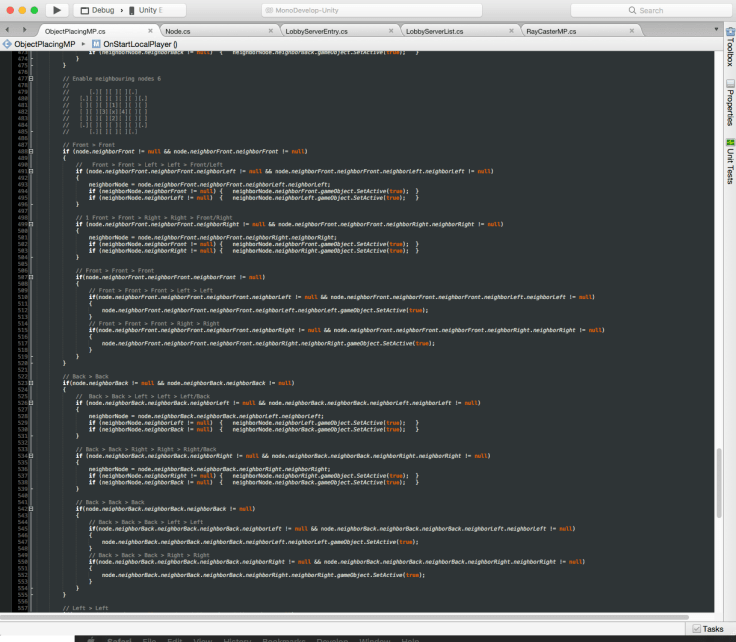
A little bit of the code I’ve written to enable neighbouring nodes when a player build a wall or base. By giving the nodes references to their neighbouring nodes I can ‘travel’ from neighbor to neighbor to set them active. I immediately thought of a better way to do this right after I was done with this method, but it works for now I will implement the better solution a little later.

Newly enabled nodes are neatly wrapping around the edges of the map:)
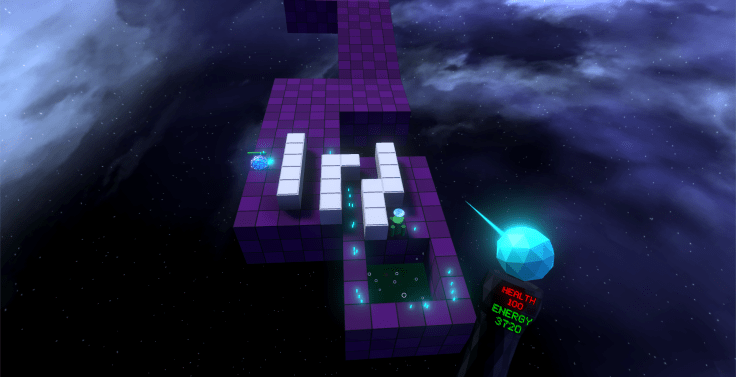
Small army of workers finding their way to the energy source to collect.
A good way to test a multiplayer project
Because I’m making this both a multi-player and single-player game it’s like making two games at the same time, almost every script has to be different for the SP and MP game modes.
The way that works for me is that I program the SP game mechanics first and if it works I copy it to the separate MP scripts and change whatever needs to be changed to make it work with networking and multiple players.
A very nice way to test the multiplayer game mode on the client and host side at the same time is by using Unity’s collaborate service instead of making a build every time.
Most of the online multiplayer tutorials tell you to make a build every time you need to test something and then have that build running together alongside with the game in the Unity editor. This is very annoying and tedious and takes up a lot of time because even if you only change one line of code in one script and want to test it you have to make a whole new build.
A much, much better way to set this up is by enabling collaborate on the project. Then if you start Unity on another separate computer and log into your own account you can download the project from the cloud and just run it inside Unity without making a build.
This way you can get error messages in the console for both the client and the server. Also when you make changes on your main computer you only have to press the collaborate button and update those changes. On the other computer you can then download those changes with the same collaborate button and immediately test it in the editor without making a build.
The great thing about it is that on the other computer Unity only has to update the files that are changed and you don’t have to make a entirely new build!
To set this up:
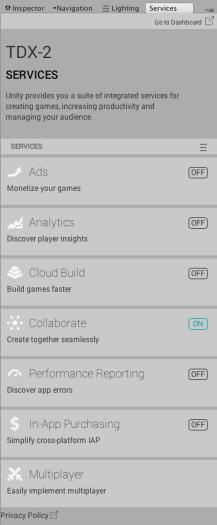
Step 1: Enable Collaborate in the Services window.
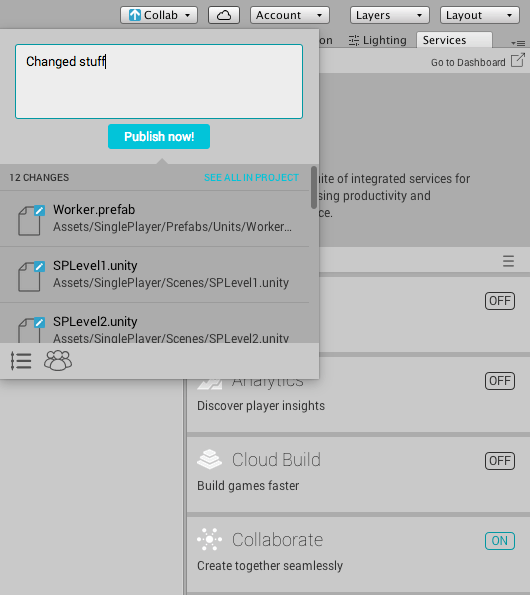
Step 2: After you changed stuff, hit the Collab button and publish those changes
Step 3: Start Unity on a different computer, log into your account and download your project to the local harddrive from the Unity Cloud
Step 4: After you made changes on computer one, download those changes to the copy of the project on computer two by pressing the Collab button and then Update now!

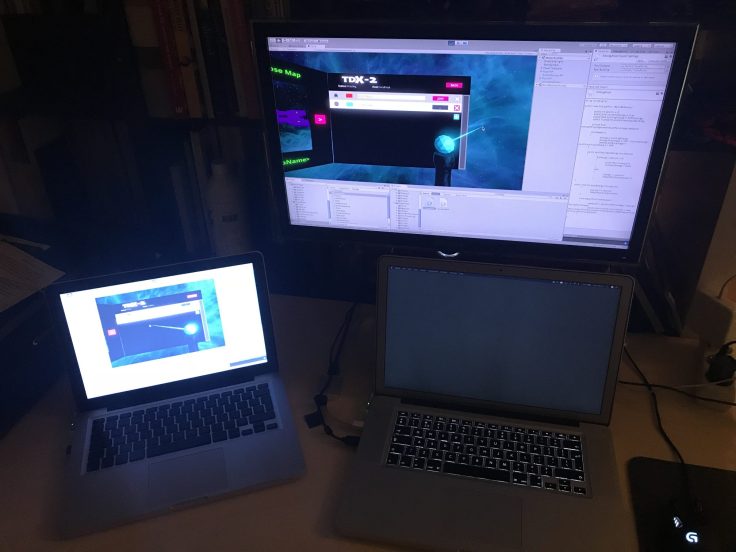
Step 5: Press on play on both of the computers and you can test your multiplayer game in Unity both on the client and the host side:
Step 6: If you find some errors, only change your project on computer one (or you will get mixed up), and then publish the changes with the Collab button. On computer two, download those changes with the Collab button and test again!